The shed is great, once it is built. The instructions are ridiculously long as in 117 pages to put up walls and a roof! It was not made clear in the description of the shed that a platform would have to be built separate from the kit, which incurred additional costs. It might be cheaper for someone to purchase a pre-fabricated steel shed of the same dimensions. After building the separate base foundation for the shed, I began to assemble the kit. The floor pieces appeared to be simple to put together and the diagram showed clearly how to do it. However most of this project requires 3 people to complete not two. After assembling the floor, I began to assemble the walls. The panels began to slide into place fairly easy and within a few minutes I made it down to the first corner. When I tried to assemble the corner using the frustrating instructions that it would simply slide and lock into place then press down to secure it, I found that the entire wall was off by half an inch. I had to disassemble the entire wall! Starting over I discovered that the wall panels don't slide and lock all the way in. It in fact requires using a block and a rubber mallet to nudge them into place, however it is easy to fold the edge of the panel when hitting it into place. After getting the panels back up I was able to successfully get to the corner and get it installed. Moving to the other corner, I was able to install it and move down the line with the other wall. At this point a slight breeze kicked up and knocked my first wall down and out of the grooves. I had to start over. This time I braced the wall from the outside and inside with boards. I put up the second wall again and both walls began to sag in and out with the breeze. I tied a few sets of string between the tops of the panels to the opposing walls and braced the walls with boards on the inside and out. That resolved the walls sagging and falling out of the grooves. I got the doors installed on the end, and moved to the doors on the side. At this point, I discovered that the floor panel that needs to hold the door next to the first wall panel, was put in backwards, despite following the instructions to the letter. It required me disassemble the entire shed again!! I did so and reversed the floor panel as needed, and repeated the steps above to assemble the shed again. After getting it together again and installing both sets of doors, I discovered that the poles that hold the doors up were described by the instructions to have one long pole and one short pole per sets of doors, however when the doors get installed, the side entrance set of doors requires short poles to hold it in due to the sloped roof pieces. So I had to disassemble the doors and swap out the poles. I put them all back together and all was well. I began assembling the roof panels. All went easy with some minor adjustments with a rubber mallet. The pitched roof section proved to be difficult to assemble over the doors as the arch panel was designed 1/4 inch too narrow and not seating fulling into place without leaving a one inch gap between the top corner of the door and the wall, but I figured I could just use weather stripping to fill the gap. The final piece needed to complete the shed was the roof skylight cap. Assembling the 20' long cap required the need for several stands to hold the entire thing up. It took three people to lift the cap up into place but once in place it assembled quite easily. After completing the shed I found in the instructions that the floor needed to be secured to the platform. This step would have been useful in the beginning of the instructions not the end. I also noticed multiple spots where light was entering the shed around the floor. I used a foam sealer to fill all the gaps and have a working shed. Now I have to figure out how to build ramps for the doors as my shed is on a platform that is several inches off the ground. This is a great shed, however it requires so much more work, people, money, and time to complete than the instructions would lead you to believe.
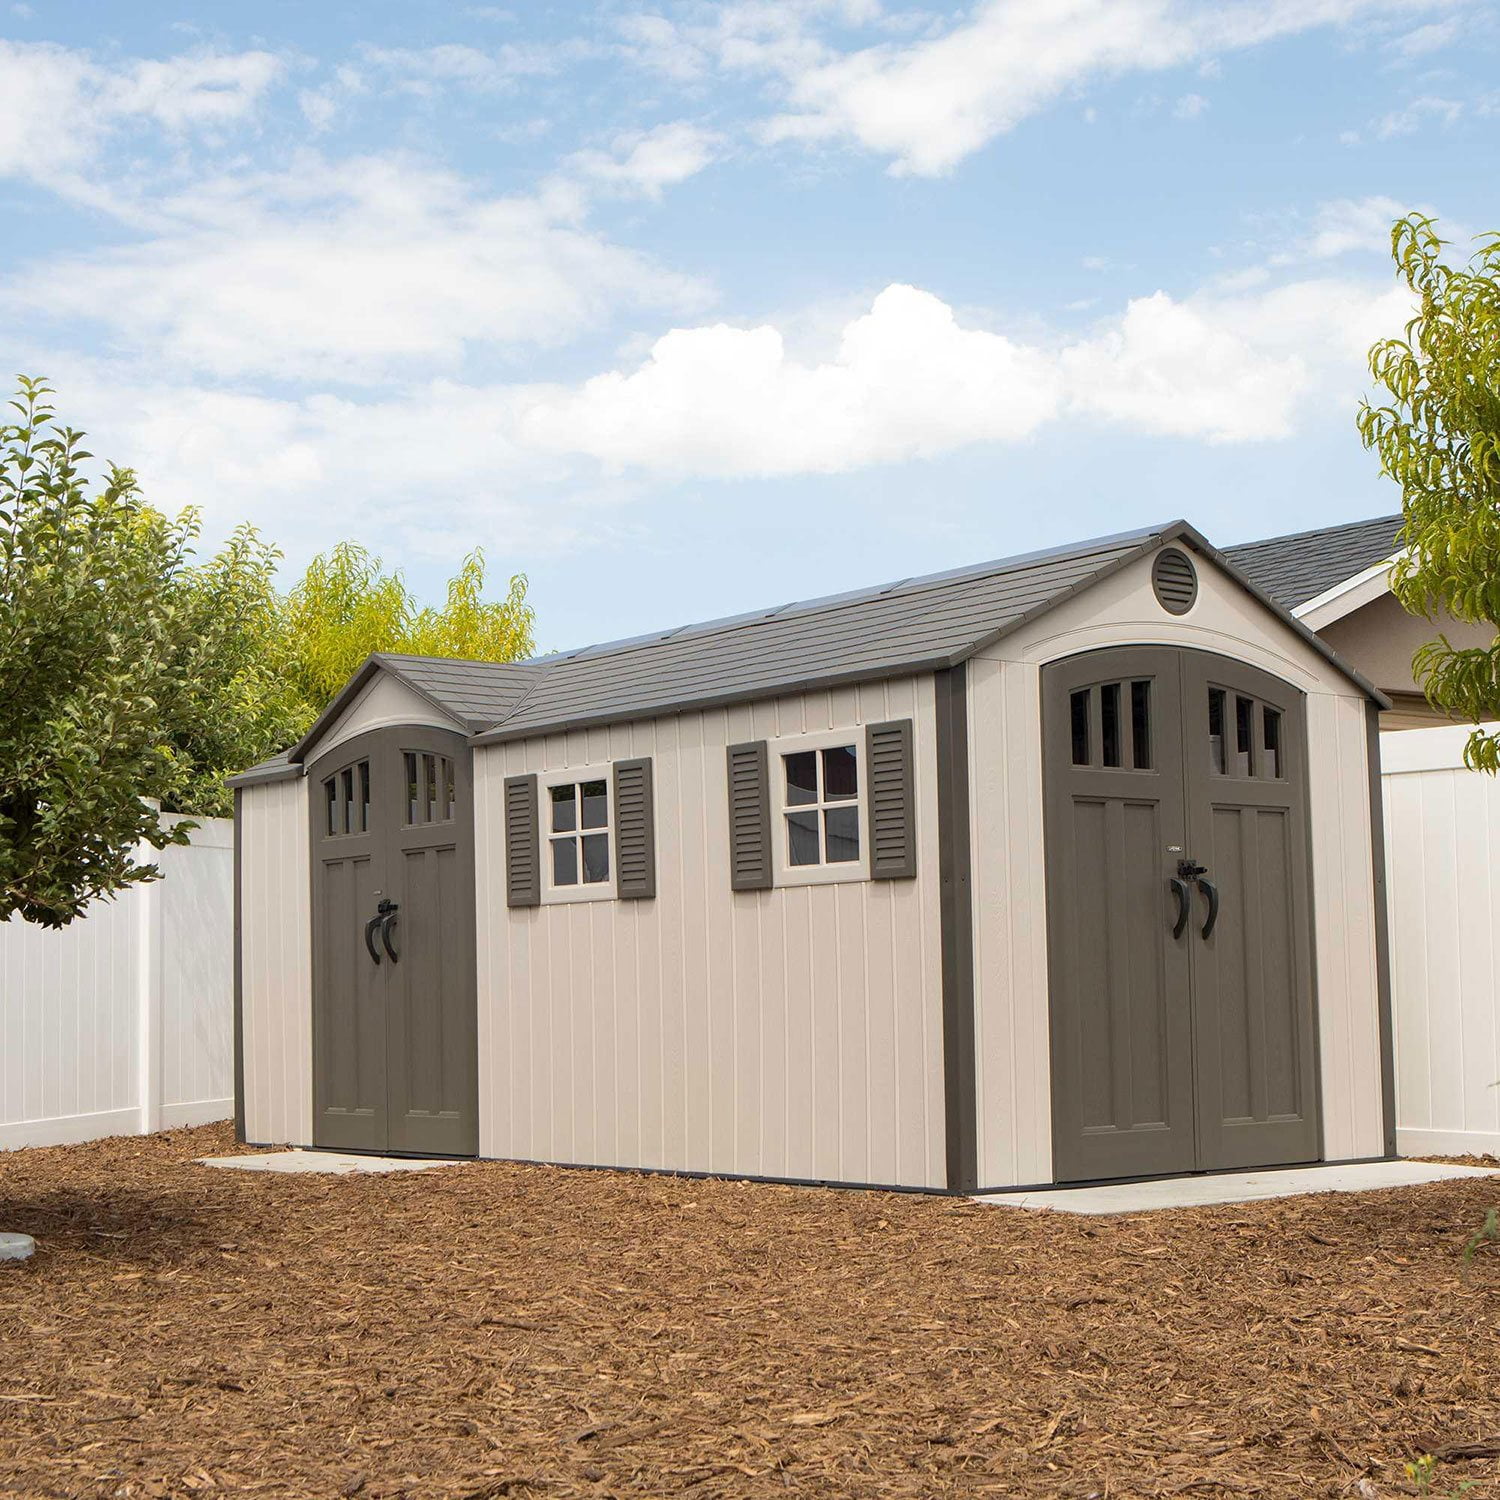 Customer reviews for Lifetime 8' x 17.5' Outdoor Storage Shed Dual Entry, Tan for


