I bought this for my son after my sister bought a similar-looking one from a major online retailer, but it wasn't as good quality and also had very light weight limits.
This bed is very solid and well structured. I would highly recommend it. I'm a 6'1 230lb guy and both the top and bottom bunks can hold me easily, even with my child in the bed too.
Here are my thoughts:
My full-size mattress leaves around a 2 inch gap on the sides. Not a big deal, and my wife suggested a pool noodle on the back side (against the wall) would resolve this minor issue. With sheets and blankets it's easily covered and does allow a little extra room. Just know your mattress may or may not snugly fit, but it will be well-supported. I bought a 6inch (maximum is 7 inch) twin memory foam mattress for the top that fits perfectly.
When assembling this bed, here are some tips:
I recommend you have two people putting this together, but I did it by myself. Total assembly time for me working by myself was around 4 hours. If you have a capable person helping you, I'd say you could easily shave an hour or so off the assembly. The instructions are relatively good, but it's easy to overlook or miss certain small details.
I live in a humid part of the country, and I had this bed in the boxes in my basement for around a week before I began to assemble. Some of the wood had swollen a little and didn't fit easily, especially when assembling the headboards. A little extra work and patience took care of this, but just be prepared if this happens and don't put too much force into it or something will likely break.
My son's room isn't extremely large, and he has other furniture in there. I had to move some furniture to allow room for assembly and maneuvering. You'll need enough space for the entire footprint of BOTH the full AND the twin bed, as you assemble them both independently of each other. I do recommend assembling them both in the room where they'll be used as moving and maneuvering could be a challenge with doorways. Also, be sure you note the position of the bed, bunks, and ladder location as you start. The ladder goes on the right-hand side and can't be moved, so think about that as you're assembling to make it easier when put it all in final position.
Be sure when you assemble the headboard and footboard for the bottom (full) bunk, you make sure the holes for the pins (on the top of the headboard and footboard) that hold the top bunk in the same position. I had to partially take apart the headboard to turn this piece around. That's a small detail that can easily be overlooked in the instructions with how they're written.
When installing the center braces for the rails on the top bunk, be sure you use the correct screws. There are six of them, and they are 30mm screws but look very similar to the 35mm screws that are used for the slats. I carelessly overlooked this and had to redo these. You want to use all the 35mm screws on the slats to make them secure.
When placing the top bunk onto the bottom one, I recommend putting a towel, piece of cardboard, or cloth on top of the headboard and footboard of the full size bunk so you can slide the twin-bed on it without scratching the finish. If you've got two people and enough room to maneuver, you may not need to slide it over, but I would still recommend doing this just as a precaution. The finish does scratch pretty easily. (you can buy a furniture pen to take care of any scratches or cosmetic blemishes)
For placing the slats on both bunks, I highly recommend using a power screwdriver or drill set at the lowest torque setting. It goes a lot faster that way. For the top bunk, definitely don't install the slats until it is in place. This makes maneuvering and installing the ladder a lot easier.
For the top bunk, installing the slats with it in place is pretty simple if you keep the slats bunched together (they're all tethered together) and just place each slat when you're ready to screw it down and work your way back rather than placing all the slats and then screwing them in. For the bottom bunk, since access is easier, you can install them all at once and then go back and screw them in. (this will make sense when you see it)
When installing the three supports for the bottom bunk (the “poles” that attach to the slats), be sure you take the extra time to unscrew the feet to them as far as you can, even if you're installing on carpet. This will prevent sagging and wear on the slats and just ensure the mattress is properly supported.
I would probably refrain from any power tools on anything other than the slats unless you're very careful. The included wrenches should suffice.
This is a great bed, and all the hard work is worth it once it is complete!

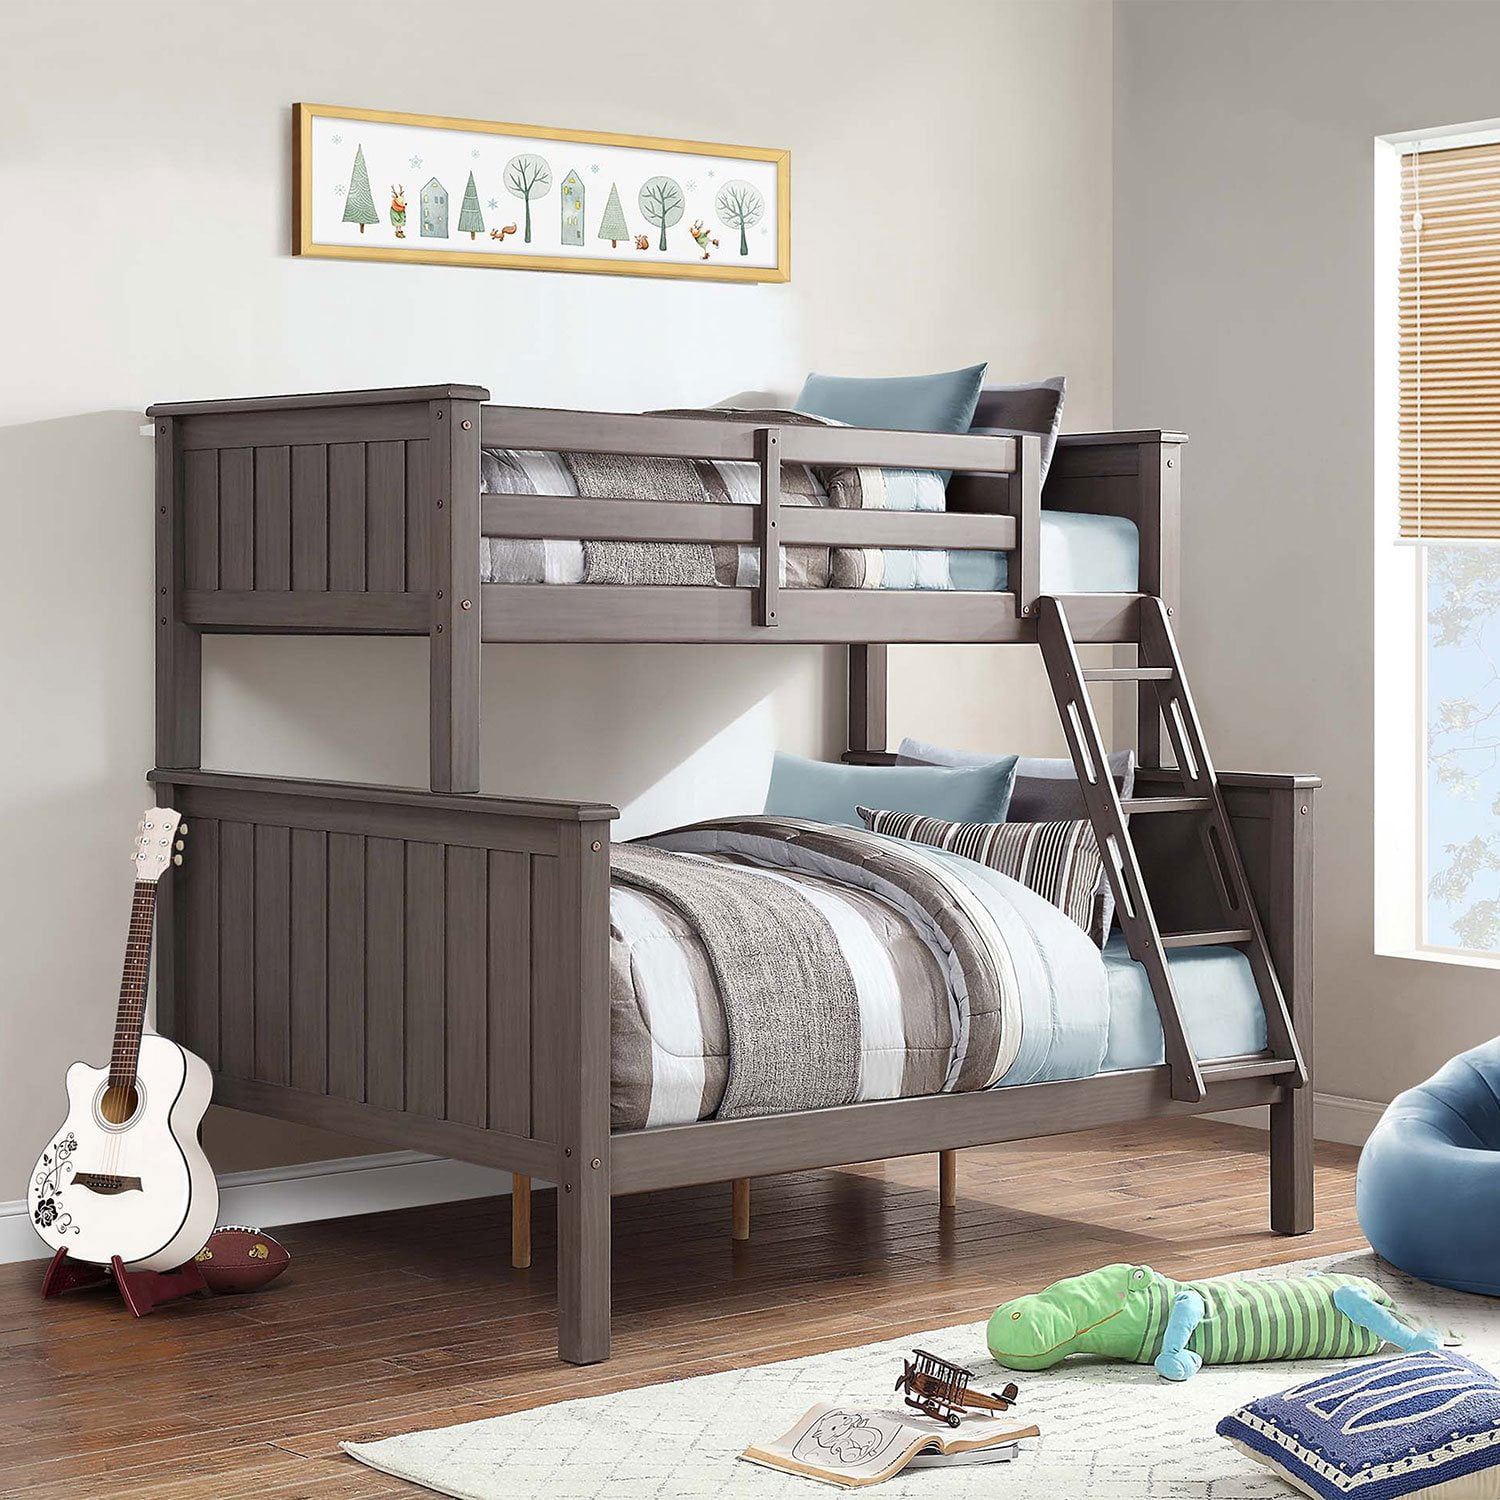 Customer reviews for Member's Mark Tenley Twin-Over-Full Bunk Bed, Assorted Colors for