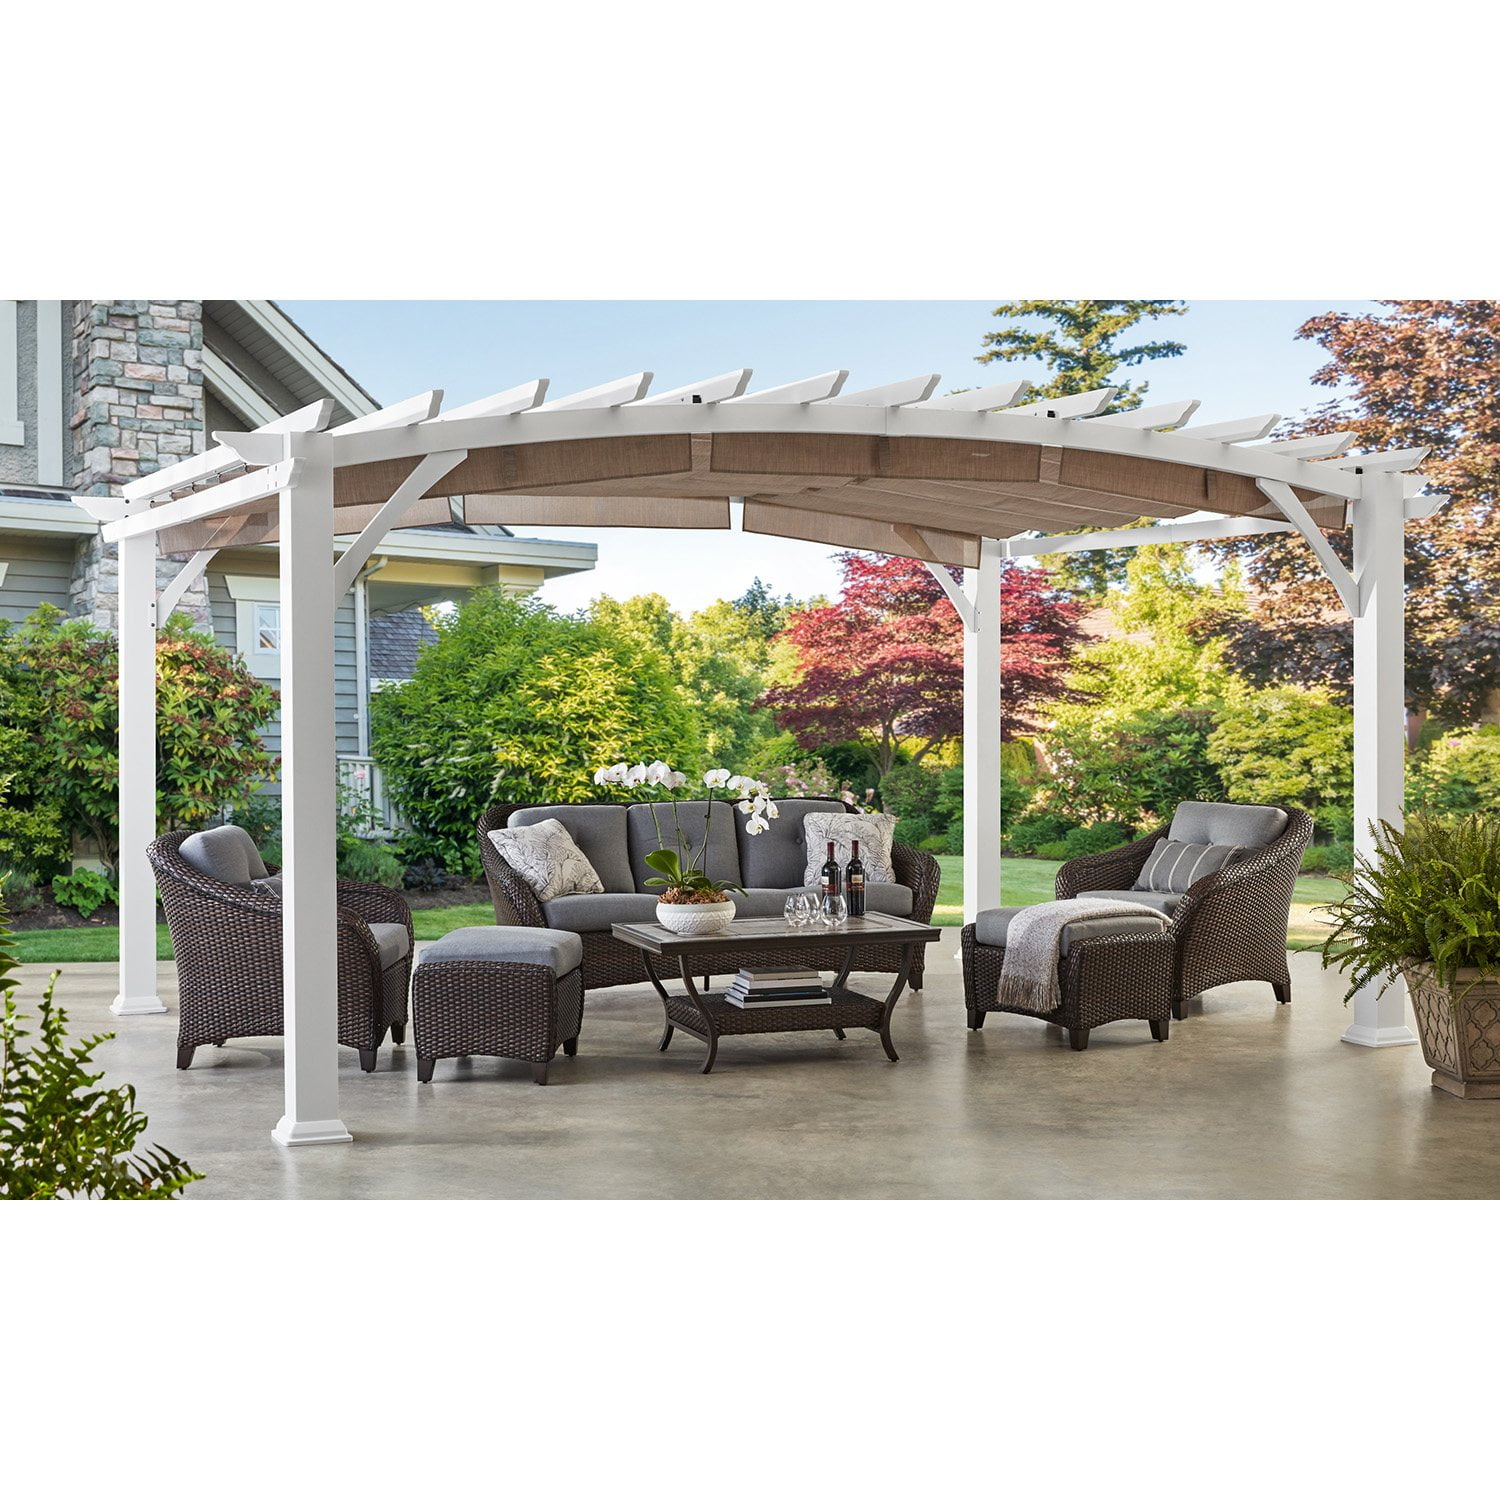
 Customer reviews for Member's Mark 12' x 16' Galvanized Steel Pergola White for
Member photos




 +18 images
Nice Pergola
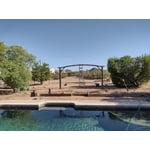
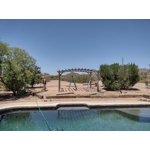
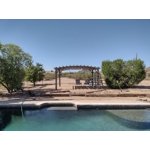
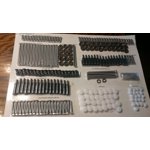
Bought this at a good discount. It arrived in two 256lb cardboard packaged, about 10' long. This was dropped off using a pallet jack, so anywhere in the yard other than the near-road drop off point would be impossible to have them place it for you. It would be good to have a heavy duty wagon to put these on (with help) to transport them to either your garage or the build site. Once at the build site you'll want to inventory these packages. The instructions included in the package has an item index with quantity included. I counted everything down to the washers. I was missing one piece only (an M1 bar used to hold the fabric) but it was shipped in just a couple days after I emailed the manufacturer with proof of purchase and the item and quantity that was missing. I used my emailed receipt for proof of purchase. Hopefully to help remove some confusion, the hardware has labels like AA and BB and such. However when you look at the pallet of hardware, you'll see bolts and washers that look very similar. This is because AA means bolt with metal washer while BB means bolt with plastic washer. Metal washers are used on the bottom of the assemblies while plastic ones are used on top. This is to keep water out of the channels to prevent rust building up. The only exception I found was the long bolts to hold the brackets from the top, the instructions called for metal washers but I used the extra plastic ones instead because 1) the metal ones are too small and fall through the elongated hole in the metal, and 2) that part also needs to be water tight. The 4 posts and bases go together easily enough, then the arched cross beams. It's important to keep the integrity vs instructions as you will need this as the build comes together. For example, on the front side of the pergola, you'd have D1, C1, E1, etc... except in I think only one instance of that not being the case. The back side would have D2, C2, E2, etc.... This is how the holes line up and how you get the fabric tracks installed properly. It's a good idea to sort these ahead of time instead of just cutting open the package and allowing things to fall. I put washers on bolts per item list and that helped a lot. There are two "PP" bolts that go top center on front and back that are slightly longer than the rest of the "long" bolts, set these aside with their plastic washers for that portion of attaching the middle cross beam to the top of the arch. The metal cover that goes over that part adds the extra thickness to those bolts are needed there, not elsewhere. You'll need at least 2 people to erect the front and back sections so you can attach the cross members on each end. Once you have that done, you can do most of the rest alone. Attaching the top members is easier if you put all the bolts and washers on first on both sides, then use those as guide pins while you push the members up on one side, and climb the ladder to place the other side. I put all the top cross members up top before ever screwing them down. I also made the mistake of putting these pieces on the ground so they got dirty and half my time was cleaning them. The pulleys and tracks are really easy to install, you'll have those done in 30m or so. Installing the fabric is a bit tricky. I used two people but if you install an M1 rod at the end of each fabric roll you can use the magnetic buttons to hold the fabric up while you install the rods one at a time in the pulleys. It's a good idea to run a bolt into each end of each rod (tedious but necessary) to clear the threads, I had to remove several to perform this function due to stuck threads. You don't have the leverage to do this once up on a ladder. Then a drop of machine oil on the threads and it goes like buttah.. Then tighten all the hardware snug using a ratchet and get a real allen wrench instead of those tools they provide. in fact, a socket allen wrench is ideal. Again, don't over tighten these. Just a side note: Once your inventory is done and you need to order missing parts, consider if they are absolutely required to progress with the install or if you can wait until the end and install them. This is because you could run into a problem piece that isn't machined or aligned properly (or broken) and need it replaced. The manufacturer will only ship once for free, after that it's 30.00 USD for shipping fees. So compile all your needs into one request if feasible. I double checked the dimensions and the above review with tape measure images is accurate. 127" outside post to outside post on the 12' direction and 175" outside post to outside post on the 16' direction. You also should order some touchup paint, these will rust quickly where the power coating has been scratched. I installed a grounding rod near my deck to ground this unit since it's metal sitting on a composite deck. Just installing it I got zapped a few times due to static buildup. I attached the ground strap at the lag bolt on the leg closest to the house. It's not noticeable.
Verified Purchase
Wonderful purchase
Love it!! My husband and I put this together in about 8 hours. Everything went together very easily and it turned out beautifully!! The only complaint is the shade is very hard to reach to pull it back and forth ( I’m 5’1’) and can not pull the middle shade. Also if you have a dining table under the middle shade it’s nearly impossible to pull it back and forth. We have purchased a clothes hanger hook to reach it and hopefully that will do the trick. We have not received it yet. I would highly recommend this pergola!
Verified Purchase
Excellent purchase
Beautiful pergola
Great Value
Love the pergula. Sold materials and very attractive. Looks great on deck. Better than I had expected. Comes in 2 packages, each over 200lbs. Recommend at least 2 people to assemble. I recommend laying out the parts prior to begining the assembly process. Took about 6-7 hours to complete.
great addition to our yard
We absolutely love this pergola. It has already made a huge difference in our backyard both aesthetically and for extra sun protection. Our deck is so hot in the summer. This allows us to enjoy it a little more. Assembly took about 10 hours and 2 to 3 people. Really read all the directions and make sure to double check the photos to make sure you’re doing each thing correctly.
Lovely! Sunshades could be more functional.
The pergola is sturdy and pretty. It took 2 people 8 hours to assemble, and one of the people is a professional handyman. We did have one part that was misdrilled and caused us a hassle, and the directions could have been more clear. One overall concern I have is that the sun shades will need to be removed to survive the winter, and it will be a pesky process to both remove and replace them. Not looking forward to that! And the design of the pergola will make it an awkward fit for tarping. The shade is lovely, but as the sun shifts, we lose shade. A solution I found is to buy white magnetic hooks to attach to the steel frame, so I can hang grommet curtains to block the western sun. These same hooks work for adding outdoor lights.
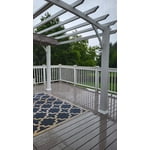
Great value!
We love this thing! Had a quote for a custom one of the same material of similar size to for over $10,000, and am SO glad we did this instead! We’re not DiY people, so we were a bit nervous, but put this together without issues. Had our patio guy add in cement bases as he was building our patio that we could bolt it into, and so far the pergola is still looking new after two Minnesota winters. I’m impressed!
Perfect Patio Pergola
I bought this pergola last month and we finally had the opportunity to assemble it over the weekend. We were pleasantly surprised with the assembly process. It took 2 men, with only minimal assistance from myself, a little over 4 hours to complete the project. I could not be happier with how the pergola looks. It is beautiful and functions exactly as described. It is sturdy and should stand up to coastal winds without issue. Especially in comparison to other more expensive pergolas out there, this one is definitely worth it!!
Fantastic kit for fantastic price
We wanted something for our back porch that would block the sun when we wanted. We had to lift it up and put in concrete polls for all four legs to lift it up to just the right. I put in 12 inches diameter 12 inches high concrete poll sections. I probably should have gone up to 14 inches instead just to make sure they had a bit more room, but I was able to make it work. I prepared the Concrete a few days before putting it up and let it dry. Then the kit took a full day to put together with just me, but you really need 2 people at least when you lift up the sides and put on the top pieces. Most of it can be done with just one skilled and determined person. They provide small spike pieces that wouldn't hold down a plastic small tent in a windstorm; those were used for our chicken coop so they wouldn't sneak under the fence. Instead, I got stainless steel bolts and cemented them in the footers, and bolted them down. I wish I would have put extra-large washers on them in the cement instead of just the large bolds, but they are fairly sturdy; overall the material of the pieces is good. Some of the instructions were a bit confusing--i.e. don't put in the white plugs to cover holes until the entire thing is up and completely done; that way you can tighten them one last time at the very end and plug the holes. We were going to get the smaller pergola but decided to upgrade to this bigger one. I am very glad we did as it is smaller from end to end than I thought it would be; from Tip to Tip it is 12' by 16', but from leg to leg it is around 127 inches [10 feet 7 inches] and 175 inches [14 feet 7 inches].

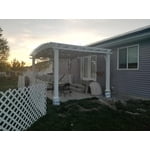


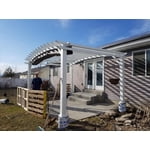
Beat expectations
Completed assembly yesterday. Exceeded our expectations. I took a couple of days setting up over weekend. Delivered into garage, but site was about 100 ft walk from garage service door. My wife helped with the fabric shades, but I was able to do everything else myself. Constructed beams and supports in garage. Walked them to site. Instructions were good. Packaged well. Unboxing and unwrapping a bit tedious. A small bend on the E1 insert pcs but able to straighten. Fit fine. Could use stronger magnets for shades. A light breeze is sufficient to let loose. Built on concrete footers. Anchor bolts. Hopefully strong enough to withstand a monsoon blow. I'm in Mesa az area. This is one part of project. Happy with this result.