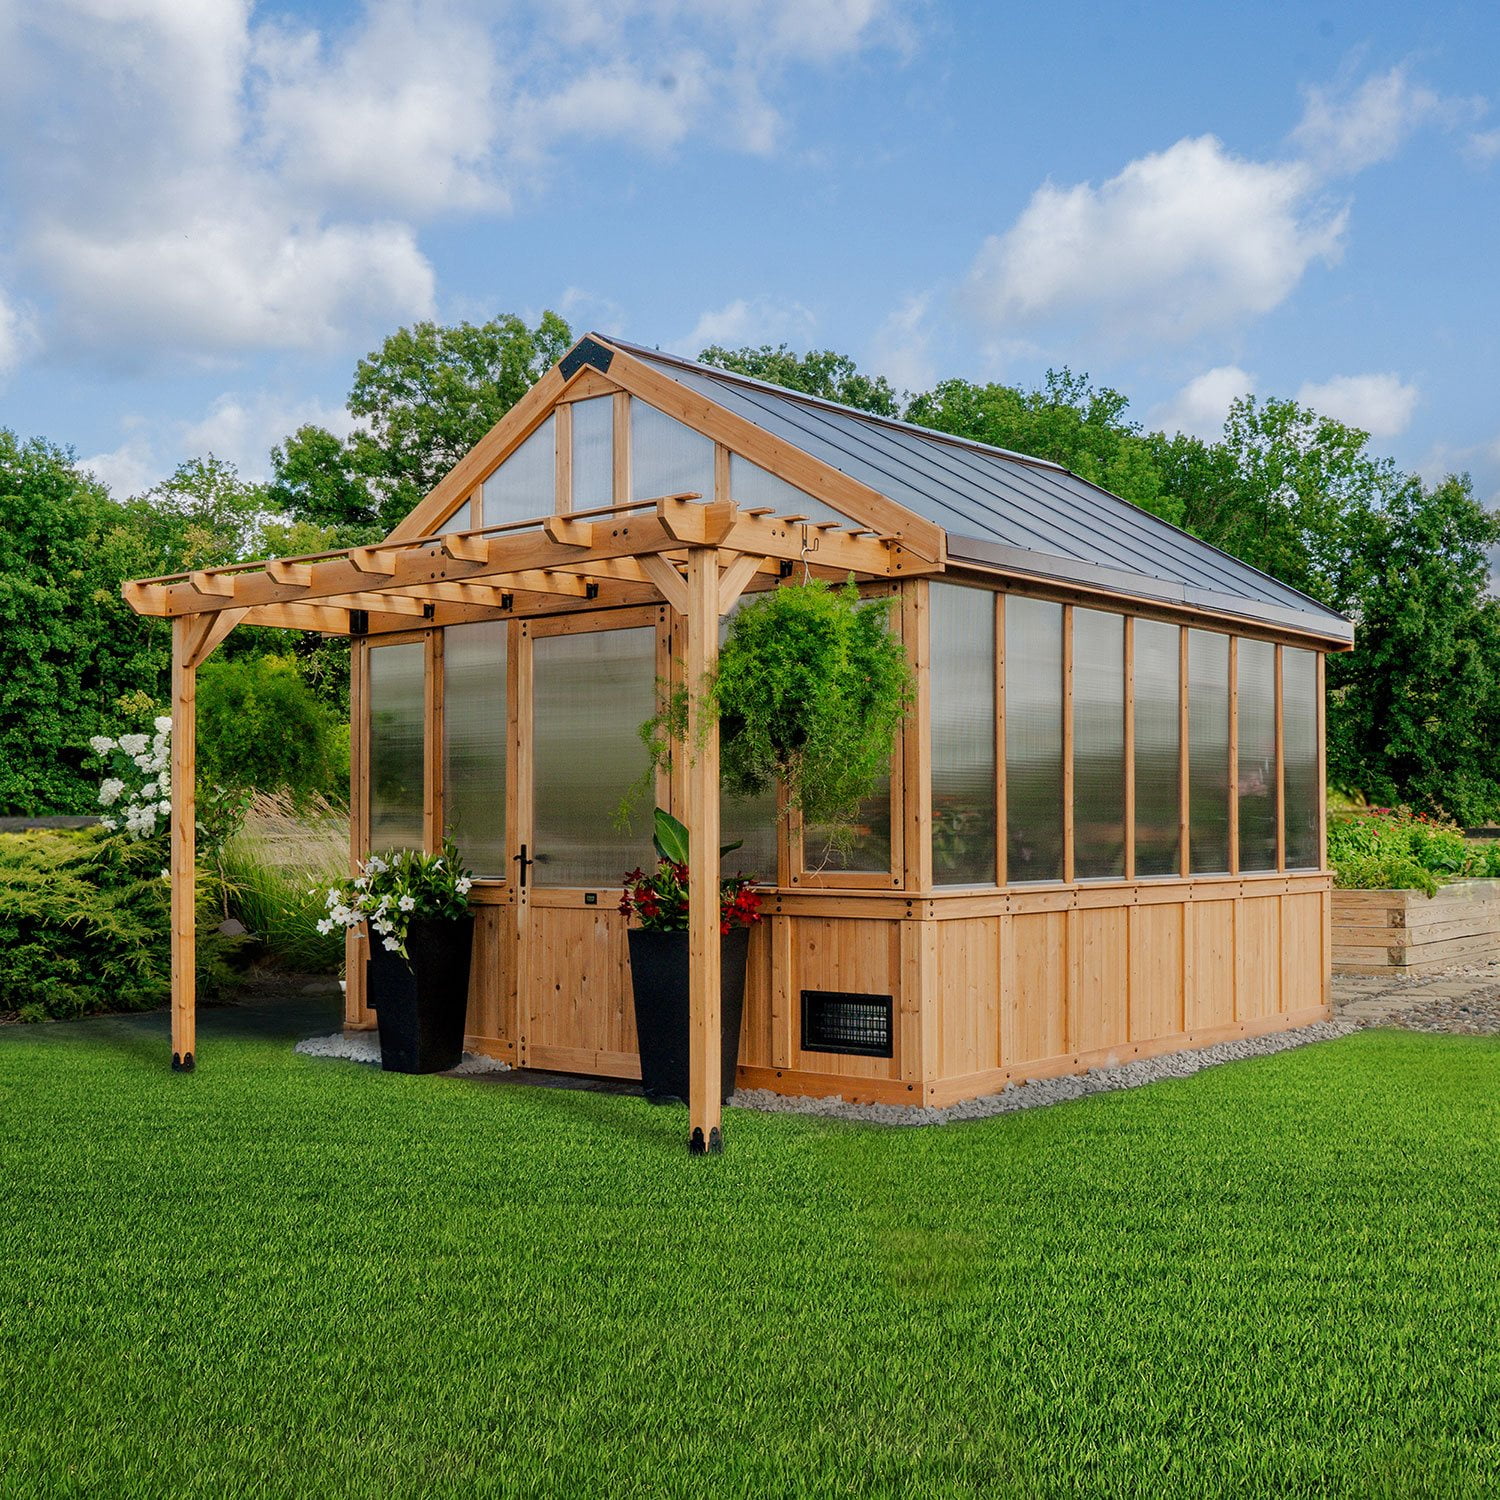
 Customer reviews for Backyard Discovery 13' x 11' Traditional Cedar Greenhouse - DIY for
Member photos
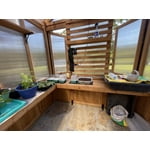

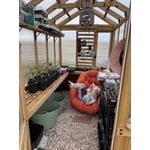
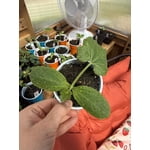
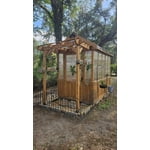 +375 images
Excellent quality and well appointed.
We purchased the Bellerose because of the size and design. It has everything I needed for seed starting and extending the growing season. For the money the quality of the wood and fittings is great. It went together relatively easy and two people can definitely assemble this greenhouse. It is a great addition to our yard and I can't wait until Spring to start growing! I am overwintering herbs and lavender in pots to see how far I can push the envelope! Well done Backyard Discovery!

An absolute dollhouse of a greenhouse!
My husband and I ordered the Bellerose ahead of moving into our new home. I knew it would be the perfect addition to my new yard and it would also be a dream to have. The greenhouse came in numerous boxes that had to be stored in our garage for awhile due to our move. Man...did the garage smell good! Once we began opening boxes I was little overwhelmed with all the pieces and hardware but my husband quickly determined a process, got things organized and a plan to get under way. I then began staining/sealing boards he outlined for me to do. After a short drying period he would select wood pieces and specific hardware and construct that section of the greenhouse. This is how we proceeded thru the entire process. Stain/seal, drying time and then "shop" for the finished wood pieces and hardware in the garage (which we referred to as our "Menards") for what was needed. It took us a month from footing creation to greenhouse finish working part time together. All the hardware was there and the wood and poly panels were in good condition. Directions were accurate and diagrams were essential in helping an amateur contractor get things right. It adds beauty and interest to our yard, feeds my creative desire, plant hobbyist heart and several friends have now fallen in love and want one to. We would highly recommend the Bellerose to any hobbyist on up!

Beautiful and durable
We get very high winds and this greenhouse can handle it! It is sturdy and looks much better than similarly priced plastic greenhouses. The directions were easy to follow, though took us longer than the directions stated, about two weeks with mainly one person working. we had issues with the door handle and their support immediately sent us a replacement
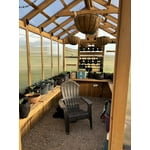
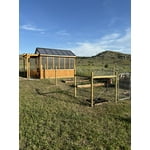
Very top quality all around
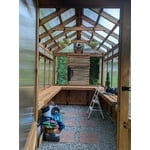
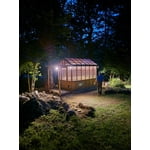
We found every aspect of the greenhouse to be spot on. The directions, the materials, pre-drilled holes, milling, hardware,venting system, and on... were extremely well done and of the highest quakity.. Backyard discovery hits it out of the park on the Bellecose Greenhouse!!!
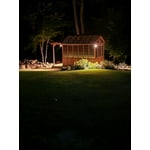
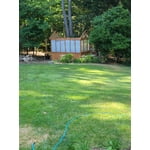
 +1 image
Perfect!
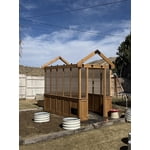
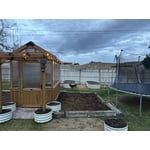
I only had one initial question as it was being shipped and they answered it very quickly!!! The instructions are amazing and are very detailed. My friend who is quite handy, myself who is not even a little bit handy and my wife who is a bit handy put this together. It took us two 10 hour days and one 4 hour day. We worked diligently with only a quick lunch break. All and all we are very impressed and would highly recommend. We put the pergola feet inside barrels so that we can plant David Austin climbing roses! (Wife always has good ideas)
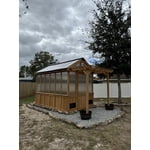
I LOVE MY BELLEROSE GREENHOUSE!
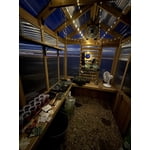
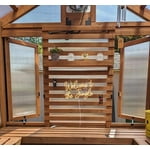
I have always wanted a greenhouse and I dreamt about having one for years. Did I need one? Of course not; I am just a hobbyist! But when someone shared that they pre-ordered a Bellerose greenhouse on Reddit I decided to look up Backyard Discovery and I saw the Greenhouse and I was IN LOVE! I promptly pre-ordered mine ASAP. We are in San Diego so we don’t (normally) get extreme weather but we do get HEAT. I knew going in that I would only be able to use the greenhouse for part of the year and I was OK with this. Summertime is out for me because it can easily get over 116º in the greenhouse and, short of putting in an a/c system, that means it is my “She Shed” during those months but it also means I can start seeds much earlier in the year than before and I can grow my heirloom tomatoes year round. That a to me is a win-win. The pics I am including are of my Bellerose before I started growing anything because I am too lazy to go out and make sure it is presentable enough for pics today. My thoughts on the sealing and construction of my Bellerose: It was an incredible experience and BD has made it as easy and as smooth as possible considering these are shipping to people with vastly different construction skills. 1. There are approximately 1,346,258 pieces of wood to seal plus twice or three times that many pieces of hardware. Ok, so that might be a slight exaggeration but, for all things holy, do yourself a favor and ORGANIZE. Sort your wood alphabetically and numerically. Every single piece is stamped on one end with a letter and a number. Every single piece of hardware is bagged by part number. Do not let yourself unpack and stack everything willy-nilly. If you do, you will double the time it will take you to build. 2. If you’re going to seal before building, set yourself up a system of saw horses to do the sealing (plastic underneath!) As well as a system on which to lay the boards to dry. Drill some screws into two 2 x 4s and stand them up about 2 ft apart like a ladder to act as a rack to lay your longer boards on to dry. Set up a fan for air circulation. If you’re sealing when it’s raining, it will take longer for them to dry. It took us two people x 3 days x 8 hours each day to properly seal every piece of wood, all sides with two coats. Put some music on, have lunches brought in or take a break to grill a some quick burgers because you will need nourishment during this time! 3. Yes, the plastic on the metal roof pieces is a pain to remove but if you use packing tape to start a corner it will get you a clean start saving you from scratching the metal, saving your fingernails, and most importantly, saving your sanity! Seriously, use the packing tape to pull the corner back. 4. The plastic on the window panels wasn’t fun either. Use the same tape if you can’t get the corner started (but I found it easier to start on the plastic panels). Only peel the plastic film back along the four edges so it’s still mostly protected in the center of the panel. This will allow you to get the panels into the tracks when you’re ready to install them but the plastic will mostly be protected from scratches and scuffs. 5. The gazillion pieces of hardware come in different bags, labeled by part number. Leave them in their little bags- no need to waste plastic cups or purchase plastic containers for them. Instead of ripping into the bags to open them, use a pair of scissors and neatly cut the top off the bag so you can then line the bags up without them spilling parts all over the place. Like someone else mentioned, I used a large piece of one of the boxes to stage these bags in, lining them up in columns. Don’t panic when you have a LOT of hardware left. They are truly extra pieces and nice to have if you happen to strip out a screw head. 6. Two people are best for building this but a third really helps if they can act as your gopher/runner/hardware and wood finder. This lets the two people who are building stay up on the ladder when they’re at that point, deal with the tools and battery changing, while the person who is spotting the wood and hardware become familiar with location of these items which speeds up the process instead of two people up and down and searching while their mind is still in construction mode. 7. The most difficult part is the roof because it does take two people and that final ridge is a little iffy to reach. It can be done, just pay attention and be careful climbing. 8. It is easier to wait to install the tables until the roof and panels are up and installed. This gives you more room for ladders and movement inside when installing the roof. Some things we chose to do vs. what others might have done: 1. We had a sloped area of our yard that we leveled and installed pavers on. The Bellerose rests beautifully on the pavers and is anchored. 2. We installed a linear drain. I don’t have a good answer as to why we didn’t run it down the center of the length of the greenhouse other than I knew I wanted to put a sink on the back wall and I just didn’t think to put it down the middle. Duh! 3. I needed the water to come in at the “back” of the greenhouse so I just swapped the hose panel with the hole to the back and covered the hole with a piece of wood from one of the tables that I removed for the sink. The area where the hose is suppose to come in has no table so I use that space for taller items like a broom/dustpan, etc. 4. We ran electric tot the greenhouse and it comes in on the back wall and provides me with several outlets for future use. 5. I sourced a really cool used, smaller porcelain sink with drainage boards and racks which is perfect for potting and rinsing tools, etc. We had tot cut into the back slatted table to install it. I added turned wooden legs for structural integrity so it is properly supported. I use no soap and no chemicals so it’s considered gray water and it just drains to our property. I bought a faucet with a hose connector so I can connect a small coiled hose for watering inside. 6. I hung a moroccan glass tiled swag lamp in the center and it throws off beautiful green lighted shapes at night when I want it on. I also plan to add LED strip lights for late evening work. 7. I installed a digital thermometer that is connected to my phone via wifi. I can set it with specific parameters to warn me when the hi/lo temp moves too much. 8. I hung a magnetic knife rack on my tool wall to hold all of my smaller tools like clippers, etc. 9. I purchased a small stool/step stool combo for sitting while potting or day dreaming and for standing on to reach upper items. I also have a notebook with pen that I can write notes down for plants, planting method, performance, and yields in addition to installing cute animal hooks near the door for my aprons, etc. 10. I purchased a potting tray that is open in the front to keep soil from falling through the slats of the tables to the floor and bins w/lids to store soil for potting. 11. I hung an herb drying rack to dry some of my herbs. 12. I bought some solar lights to hang on the posts of the trellis. 13. I added a set of plastic storage drawers for misc item storage. 14. I had an old dorm room fridge that I put in the greenhouse for those hot summer days! Cons of my Bellerose Greenhouse: 1. I pre-purchased my Bellerose when they were first coming on the market and I bought the largest one they had at the time. BD has come out with a larger one since then and I totally wish I had it, lol. You can never heave too much growing space, right?! 2. On the earliest Bellerose the windows raise up and down to open and close but the latches are so high up that I have to get up on a stool just to latch or unlatch them. I wish BD had an option to swap out these windows with the newer ones that crank/open out. I did see on the FB group that someone rigged up a pulley system to the ones that raise and lower so she can reach them more easily so I might have to look into that fix. The windows also don’t come with any screening and when you live out in the country, you have to do everything to keep critters out. I’ve had mice, birds, and bats in my greenhouse, “Oh my!” I am currently sourcing magnetic window screens to solve this issue. I also have a magnetic screen door for additional air flow and cooling. 3. The earliest Bellerose greenhouses didn’t come with upper shelves. I bought pieces of cedar and hung them but they aren’t as pretty or finished as the ones BD is including now. Again, I wish we had the option to purchase the upper shelves for our earlier greenhouses. In summation, if you are looking for a backyard greenhouse or you are waffling about whether you should buy a Bellerose greenhouse, I will give you a resounding “YES! Pull trigger on it! You won’t be sorry!” The BD Bellerose greenhouse is an incredibly designed and will be a beautiful addition to your life. I LOVE MY BELLEROSE GREENHOUSE!
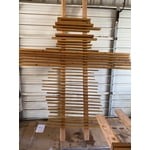
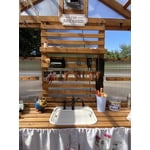


Beautiful greenhouse!! 😍
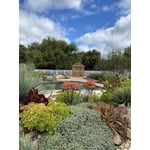
[This review was collected as part of a promotion.] This greenhouse is the cutest on the market!! I love the pergola front where I hang plants to create an inviting entrance. I get so many compliments from neighbors on this greenhouse! I love that it has a hose hook-up and exhaust fan that comes on automatically based on the temperature I set. The windows are great to alley in a cool breeze. I highly recommend and would buy this again!
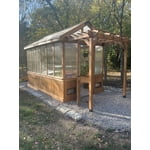
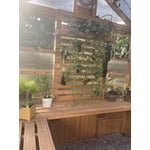
Really Terrific Product
Finished building our Bellerose Greenhouse about a month ago. Spectacularly well thought out product. I was consistently impressed with the thoughtful detail that went into this. I cannot say enough good things. To make this review useful, i will talk about the challenges i had... this does not make this a negative review, but helps others building theirs to anticipate and avoid problems. We oiled all the wood first - this was 2-3 days worth of work - i stickered it to dry and then laid all the wood out on 5 tarps - there are a LOT of pieces. Get a big table (or two) to lay all the hardware out on in numerical order (there are over a thousand hardware bits that go into this - if you are not organized you will waste a lot of time searching) - for often used screw and washer sizes small containers make life easier. They GENEROUSLY include all sorts of drill bits and tools (including a 90 degree bit adapter that i only discovered after i bought one to complete the job ;)... the instructions do not note when they have included the tool you need (simple fix for Backyard Discovery) As noted in other reviews the blue protective film on metal parts is a PAIN IN THE BUTT to remove - i did it in front of the TV at night and it took several episodes and left my fingers raw. I did have one part that was improperly bent. They sent a replacement which was also incorrect so i clamped it between two boards and used c-clamps to "tighten" the channel (it should have been a U and it was a V which caused the piece to not lay flat and be a dirt collector - easy fix... but something that should be corrected on BD end of things) Plastic protective window film being pinched between parts was noted by someone else. Where i assembled the parts i peeled the film back an inch before putting on channels this let me keep the protection but not have to deal with the pinch. Pre assembled panels were tricky, but mostly with pressure and careful peeling you could get it out. Sometimes an exacto was required and in a few small areas i still have a bit of film that i simply could not get out. No one will ever notice but me and a month later i don't even know if i could find it back. For 99% of this the fit was absolutely wonderful. Better than i would have imagined possible with wood (which warps, twists and has a mind of its own...). A few of the lap joints on the roof were proud (not cut deep enough so that the wood did not lay flat). I used a chisel on these to remove a bit more wood and get a proper fit (otherwise there would have been a bump which would bend the channel that you have to slide the roof panels through). One notable challenge was inserting the roof panels. The rafters are secured in several steps before the roof panels are inserted. At some point a few of my rafters were tooo close together to make it possible to insert the panel. I tired loosening the rafters but there were secured too many times. In the end reversing a bar clamp to be used as a spreader proved to be the perfect and super easy solution... If you take one thing away from this review, let it be this. When you get to this step you will thank me ;) This thing is a LOT to put together. For the most part it is a one person job... but it helps to have an assistant to pull parts and hardware. My 12 yr old daughter LOVED this job and made my life SUPER easy! There are only a few times when it is necessary to have two adults to attach larger sections together. That being said, for all the work, it was a joy. Thoughtful and well constructed at every turn it was a pleasure to assemble. I cannot recommend this greenhouse enough. The hardest part was the level spot in our hilltop yard ;) Once we had the foundation the Greenhouse went up like a dream!

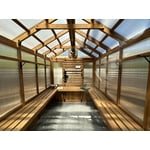
11 x 7 Bellerose Greenhouse
If you’ve never done anything like this bf please hire someone to put it together for you. Now that it’s put together and it’s full of plants it is very cool indeed. I’m struggling keeping a somewhat constant temperature in there. The fan works well enough but it can get real hot quickly if you don’t use a shade cloth. Also now that it’s getting colder I’m struggling trying to keep it warm. I think that were a few gaps in the panels on the roof. So I’m sure I’m losing a lot of heat thru there. Even using an oil filled radiator isn’t enough. So I’m adding bubble wrap for some insulation on the top. So far it isn’t freezing yet and I have time to figure it out. It’s still a very nice greenhouse for the price. The cedar panels and shelves are lovely. 4 out of 5 stars. I take 1 star bc the packing took us a full day to get ordered right

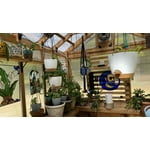

Love this Greenhouse!
Bought the kit last Jan. My husband and I set it up in March 2024 when weather in Ohio warms-up. The pieces fit together perfectly. It is well make and has features other kits don't, like an auto fan with temp control, power center, and water spigot. We love the built-in shelves can be put up or folded down. I would definitely buy again.