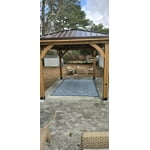
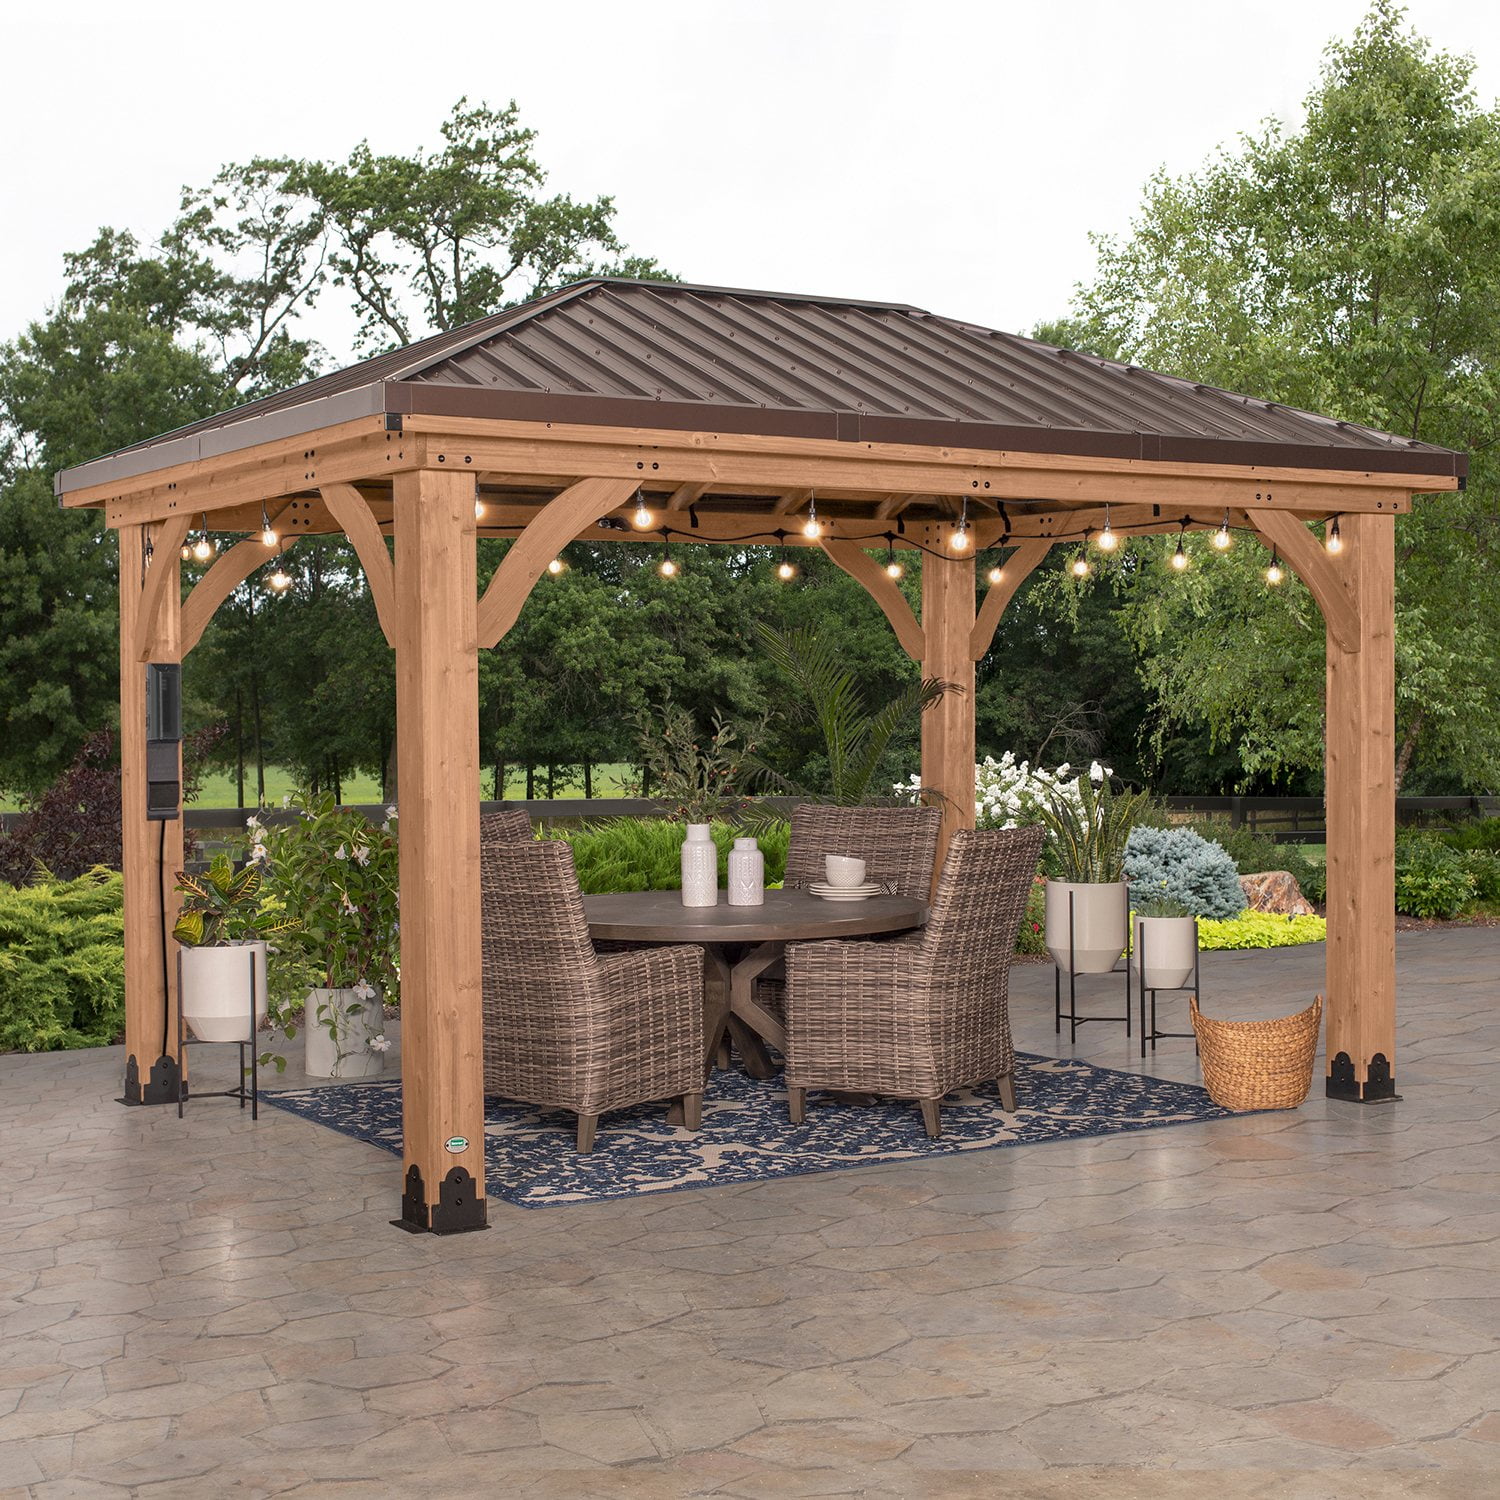
I bought the Cordova 14x10 about a month back. My skills are electronic...I'm a handyman, but not a skilled carpenter. What was really apparent was this is a USA MADE product and the documentation was, too. It was hands down the best assembly document I've ever seen for any product. Bought it direct from Backyard Discovery...price better than other kits out there and it was perfect for my 14x12 patio (with 2' roof overhang). Some things that stood in my way of completion...1 - a lot of rainy days before I could start...2 - given the time lapse, discovered just a few slightly warped rafter boards along the way...totally useable...missing one upper post bolt and one pair of roof panel brackets for the 14' sections. Now, here's where I'll give HUGE kudos to their support. The first call was for the upper bolt missing. Not a deal breaker for time. I called and I got it two days later. However, closing in on roof panel completion...I needed the missing roof brackets and there was a threat of heavy rain in two days. The standard response would get it to me in 2-3 days. I replied that it would set me back a week due to rain...even willing to pay extra for overnight. Well...the person emailed the warehouse/manufacturing location...I had one in my hands the next day...no extra charge! THAT was service! The impressive part? Everything lined up well (I did need to drill a few offset pilot holes ion the perluns due to a few warped rafter boards...but all is just fine!). Now, at 63, I assembled all of it myself and some help with my sister-in-law (grabbing parts, holding a tape measure and moving roof panels). It took me longer than most due to high humidity an upper 80's to upper 90's heat & heavy humidity. (Not to mention rain delays.) I had a good friend and my son to help hoist the roof panels. You can raise panels with two, but I highly recommend three for the 14' sections. Here's a couple hints: Placing close to your home...keep in mind that you may not be able to push the metal roof lock-in trim from the bottom on the house-side. So...I did the two small 10' panel raises first...then, the 14' section closest to the house. Couple that with the fact that I did not install the roof hip until just before installing the last panel so it wouldn't chance getting battered moving panels into place -and- I installed the house-side metal roof panel joiner from the top-side down because the 'house got in the way being so close to it. After that, we installed the last panel...loosely bolted...then tightened in the order dictated by the manual. One more issue...tightening the roof panels. Well, this brought in the metal roof channels really close where the roof panels meet on the diagonals. So close that the metal joining strips would tend to pop out sliding them up. What to do? Well, they're already bent at an angle along the ridge going up...all I had to do was squeeze them tighter working my way up. It held really well. After completing it...we love it! (Just finished today.) Only question in my mind is the flashing at the bottom of the panels. Instructions say to install the metal panels flush to the bottom. Then, the flashing trim over the top and down. But, won't that be conducive to water rolling along the side of the roof panel lower frame? I'll be installing gutters on this, but that fact has me perplexed a bit. I'll figure it out...or, if someone has their own solution, please respond. Overall, I'll still give this a 5 based on how impressive the instructions were, accuracy of of hole & pilot locations and the beauty of it installed. Installing in the heat was taxing, but well worth the savings...even at my age! ;)
 Customer reviews for Backyard Discovery 14' x 10' Cordova Light Brown Cedar Gazebo with PowerPort for