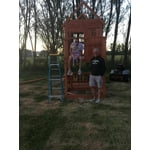
We just assembled this thing last week. Here is my experience and my recommendations. After ordering this Playset, I printed off a set of instructions. It gave me a chance to get familiar with the parts and assembly sequence. It also gave me dimensions that I needed to make sure ground was leveled. I bought better wood screws with torx head. I believe I went with 2", 1-1/4", and 2-1/2 inch screws. I should have got a box or 2 of 1-1/8" because there were many of those and I had to use their phillips head they provided, which was a pain. So, when the playset arrives in 4 large boxes, I recommend going through each box, one at a time and checking off the inventory sheet that is provided in each box. Lay everything out. There are stamps on each board and they are faint. If one is too faint, use the directions that show the piece and re-label it at this point. Put all the stamps in the same direction. This helps later when searching for the board you need. In my case, the boards that I laid vertical, I had stamps at top. If boards were placed horizontal, the stamps were to the left. There were some boards marked the same, but in different boxes. So keep that in mind. After you inventory each box, you can put all like boards together to save time and floor space. Like other reviews on here, it is absolutely necessary to sort out the hardware before you begin. The instructions are set up in steps. Starts out with sub assemblies, such as the slide, rock wall, etc. All together their are about 140 steps or so. Each step states what hardware is needed to complete the step. So buy large baggies and put hardware in there for each step, and clip the bag to each step. This is time consuming but will save you time, I promise you. Once my adult son and I started, it took us about 14 hours the first day. We stopped twice to eat. The second day, we spent 16 hours on it, taking only 1 break. The last day took about 3 hours attaching the sub assemblies onto the fort. The instructions were pretty good. The only problem was an occasional board that was hard to tell which way was to be orientated. But for the most part, we had zero trouble. Just takes time and patience. I recommend using a couple of cordless drivers for screws. Do not use an impact wrench.. we destroyed a few pieces of hardware with one. Also, there are 3 or 4 places to put spindles that need to be spaced apart. Make spacers before you begin. It helps. There are places you need to drill holes. Almost every hole we drilled through the board (mostly 7/16") blew out and splintered on the back side. So have some sandpaper and stain so you can make it not look so bad. Overall this was a good bonding experience for my son and I, and his daughter absolutely loved the playset. I believe it was worth it. As a side note, we had a party with about 30 people and many children. I bought a bunch of fireworks and the kids watched from the playset. It was great to see them have such a fun time.
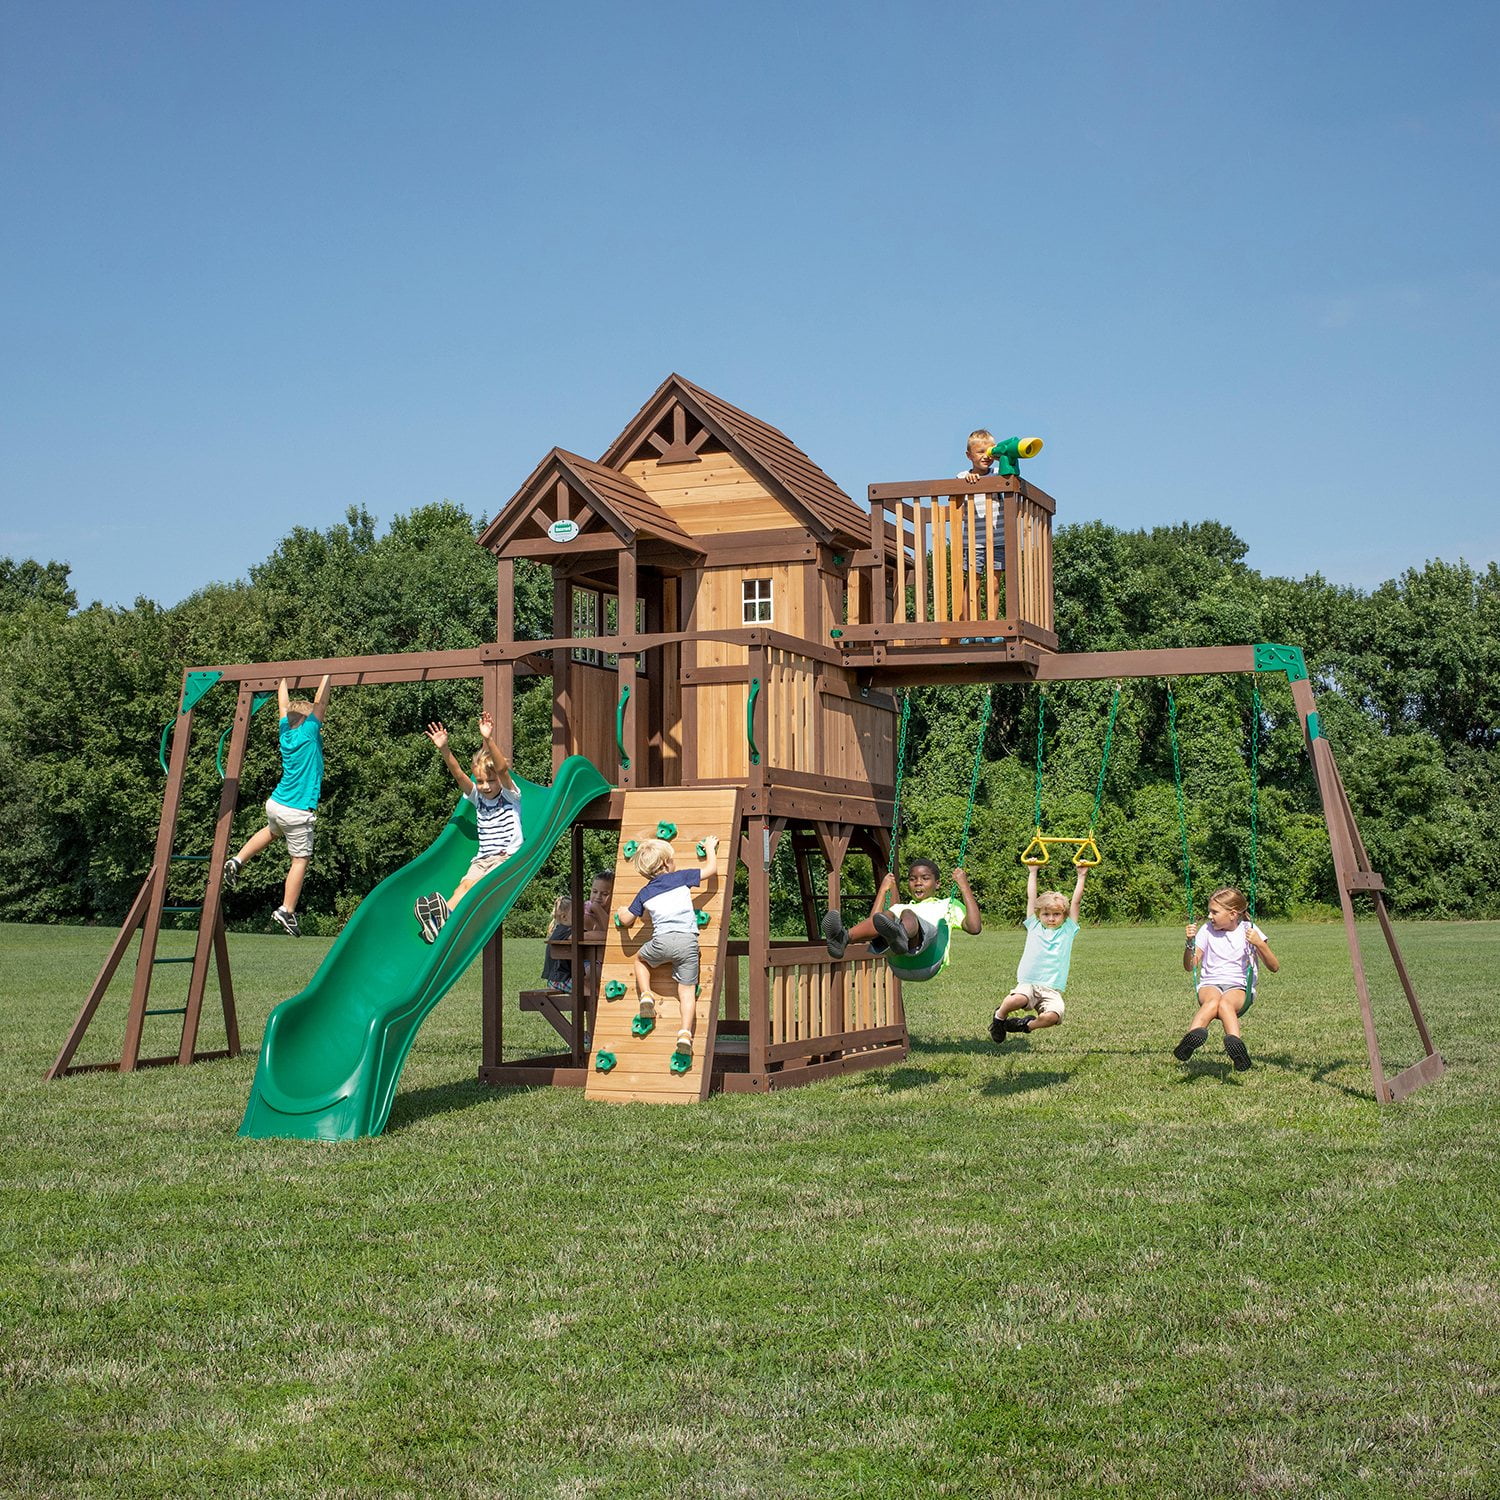 Customer reviews for Backyard Discovery Skyfort II Cedar Swing Set/PlaySet for