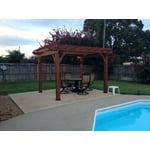
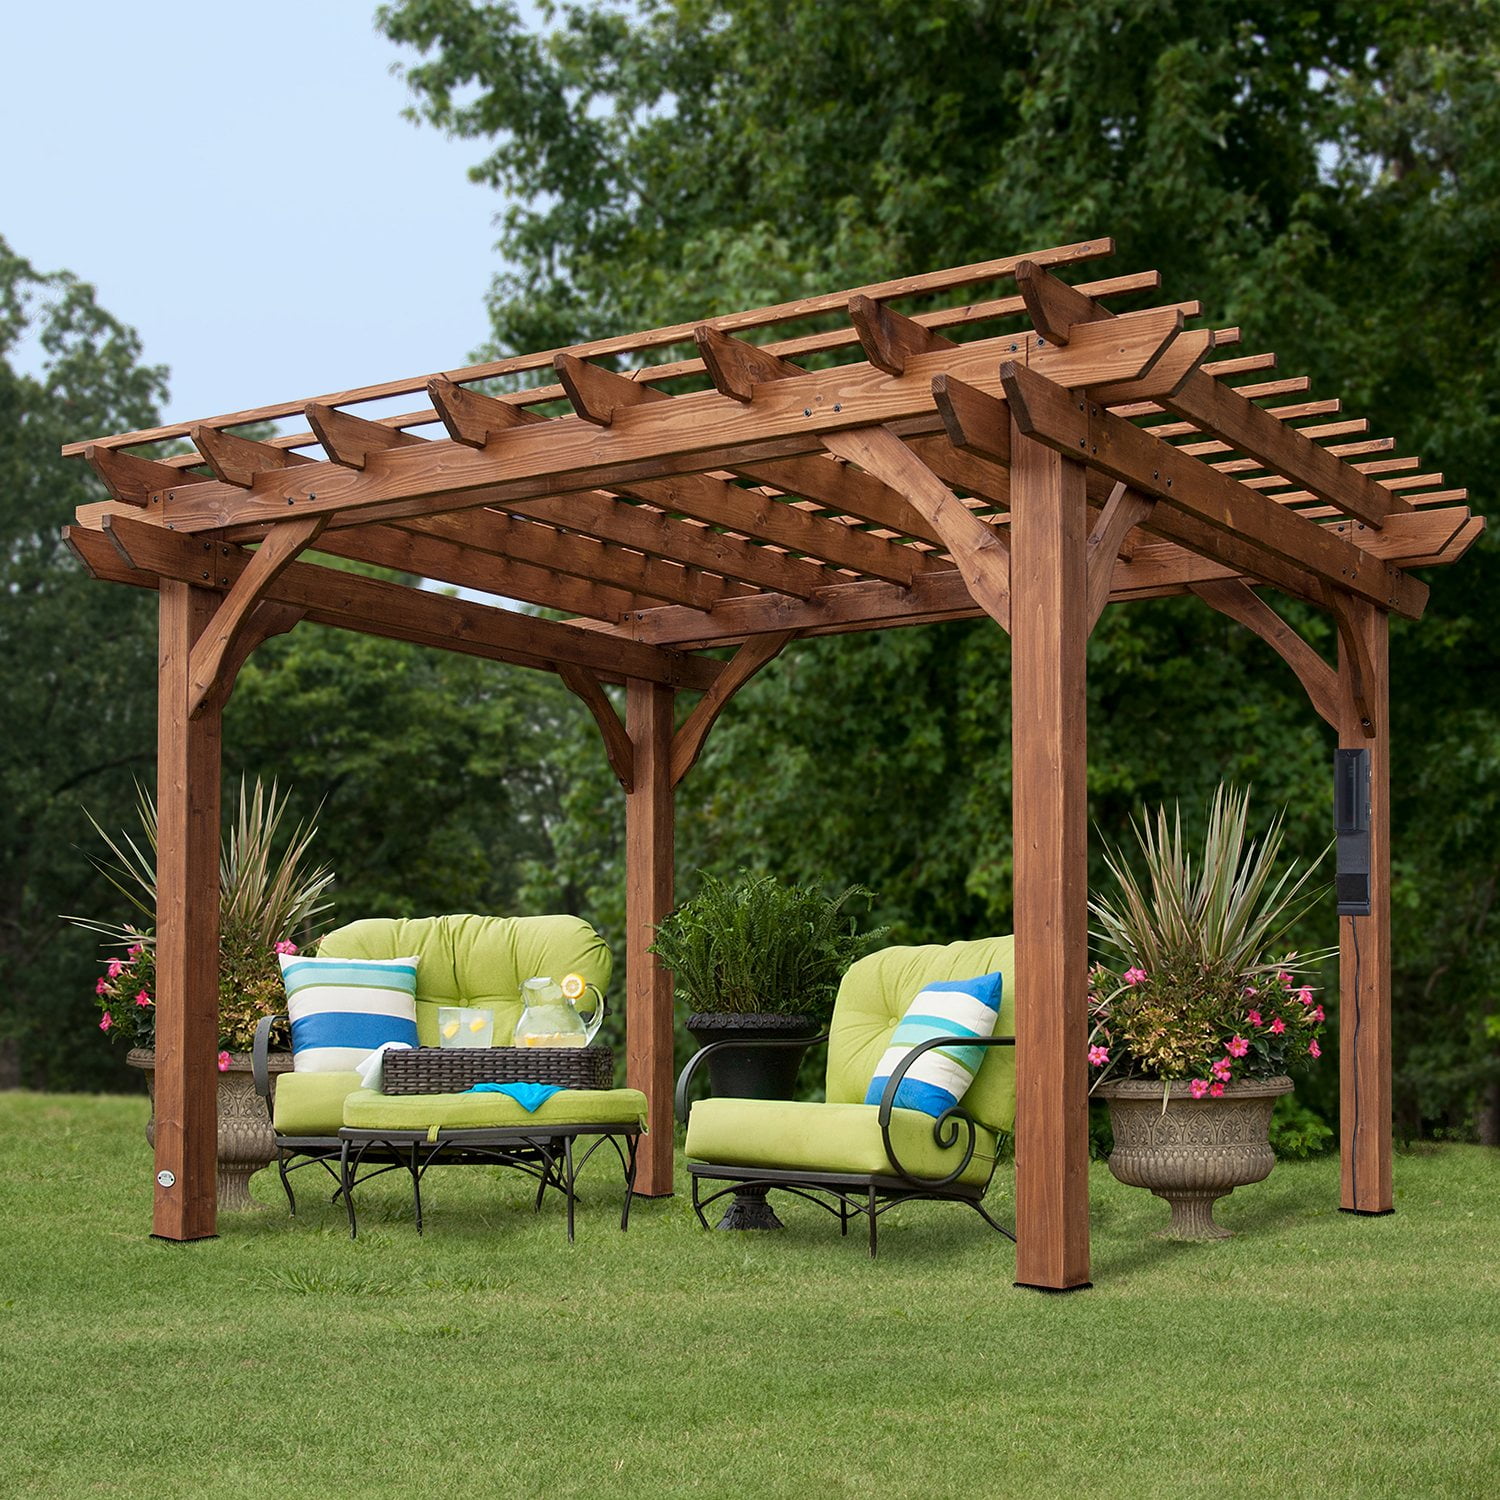
Don't usually do this but the directions are not great so thought this might help. Product came on a pallet in two boxes....all parts received and no damage noted. Two of the joists were warped but that can be corrected as indicated below. Most of this assembly can be done with one helper.
Steps 1 + 2: Hold off on these until completing Steps 3 + 4. The angle braces get in the way when attaching the joists to the pergola posts. Wound up taking them off.
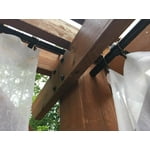
Steps 3 + 4: This is where a third set of hands comes in handy. The 7 1/4 screws are barely long enough to get through the two joists and the post, hence the reason to remove the angle braces first (from Steps 1 + 2 above). Two of the joists have a series of holes in the top so make sure they are facing up and on the outside. Once you get the four posts attached to the joists (tough if you don't have that 3rd set of hands), you can easily install the 4 long and 4 short angle braces and secure them to the posts with the lag screws. Plumb everything square and lock it in at this point.
Note: Our pergola is freestanding and over an above ground spa, so at this point, due to weight considerations, we moved it to its permanent location, completed Step 13, realigned, secured, and sent the 3rd set of hands (my wife) back into the house to avoid further conflict. Steps 5 through 8: Simple and straightforward...attaching the joist ends to the joists. One thing to note not in the instructions - four of the joist ends have holes in the top (D7s) so make sure to identify them. There are no markings on the parts.
Step 9: Don't worry if any of the slotted joists are warped as you can correct that in Step 10. Just secure them as indicated.
Step 10: Purlins have predrilled holes in them so just line up your first set and secure. Fit the long purlin angle end under the short purlin angle end to give a cleaner finish.
Step 11 + 12: Final Steps on our install. Make sure to do a lot of measuring as not all the purlins are perfectly straight and you want the finished product to be. Additionally, this is where you are able to straighten any slotted joists that may have arrived warped by bending the joist straight (difficult) and securing in place to the purlin(s).
Final notes: The hardware is not great but workable and extra is provided. You may find you need to widen some of the predrilled holes. Also had two holes predrilled on the wrong end of one of the angle braces but easily correctable. Finally, held off on water sealing due to overnight temperatures dropping below optimal, but will do so in the spring,. Bottom line...directions and hardware are the only drawbacks but neither insurmountable. Really sharp looking finished product and sets off the area we put it in nicely. Happy with the purchase. Good luck.
 Customer reviews for Backyard Discovery 12' x 10' Cedar Pergola, Choose Installation for