 Customer reviews for Lifetime 130 Gal. Outdoor Storage Deck Box for
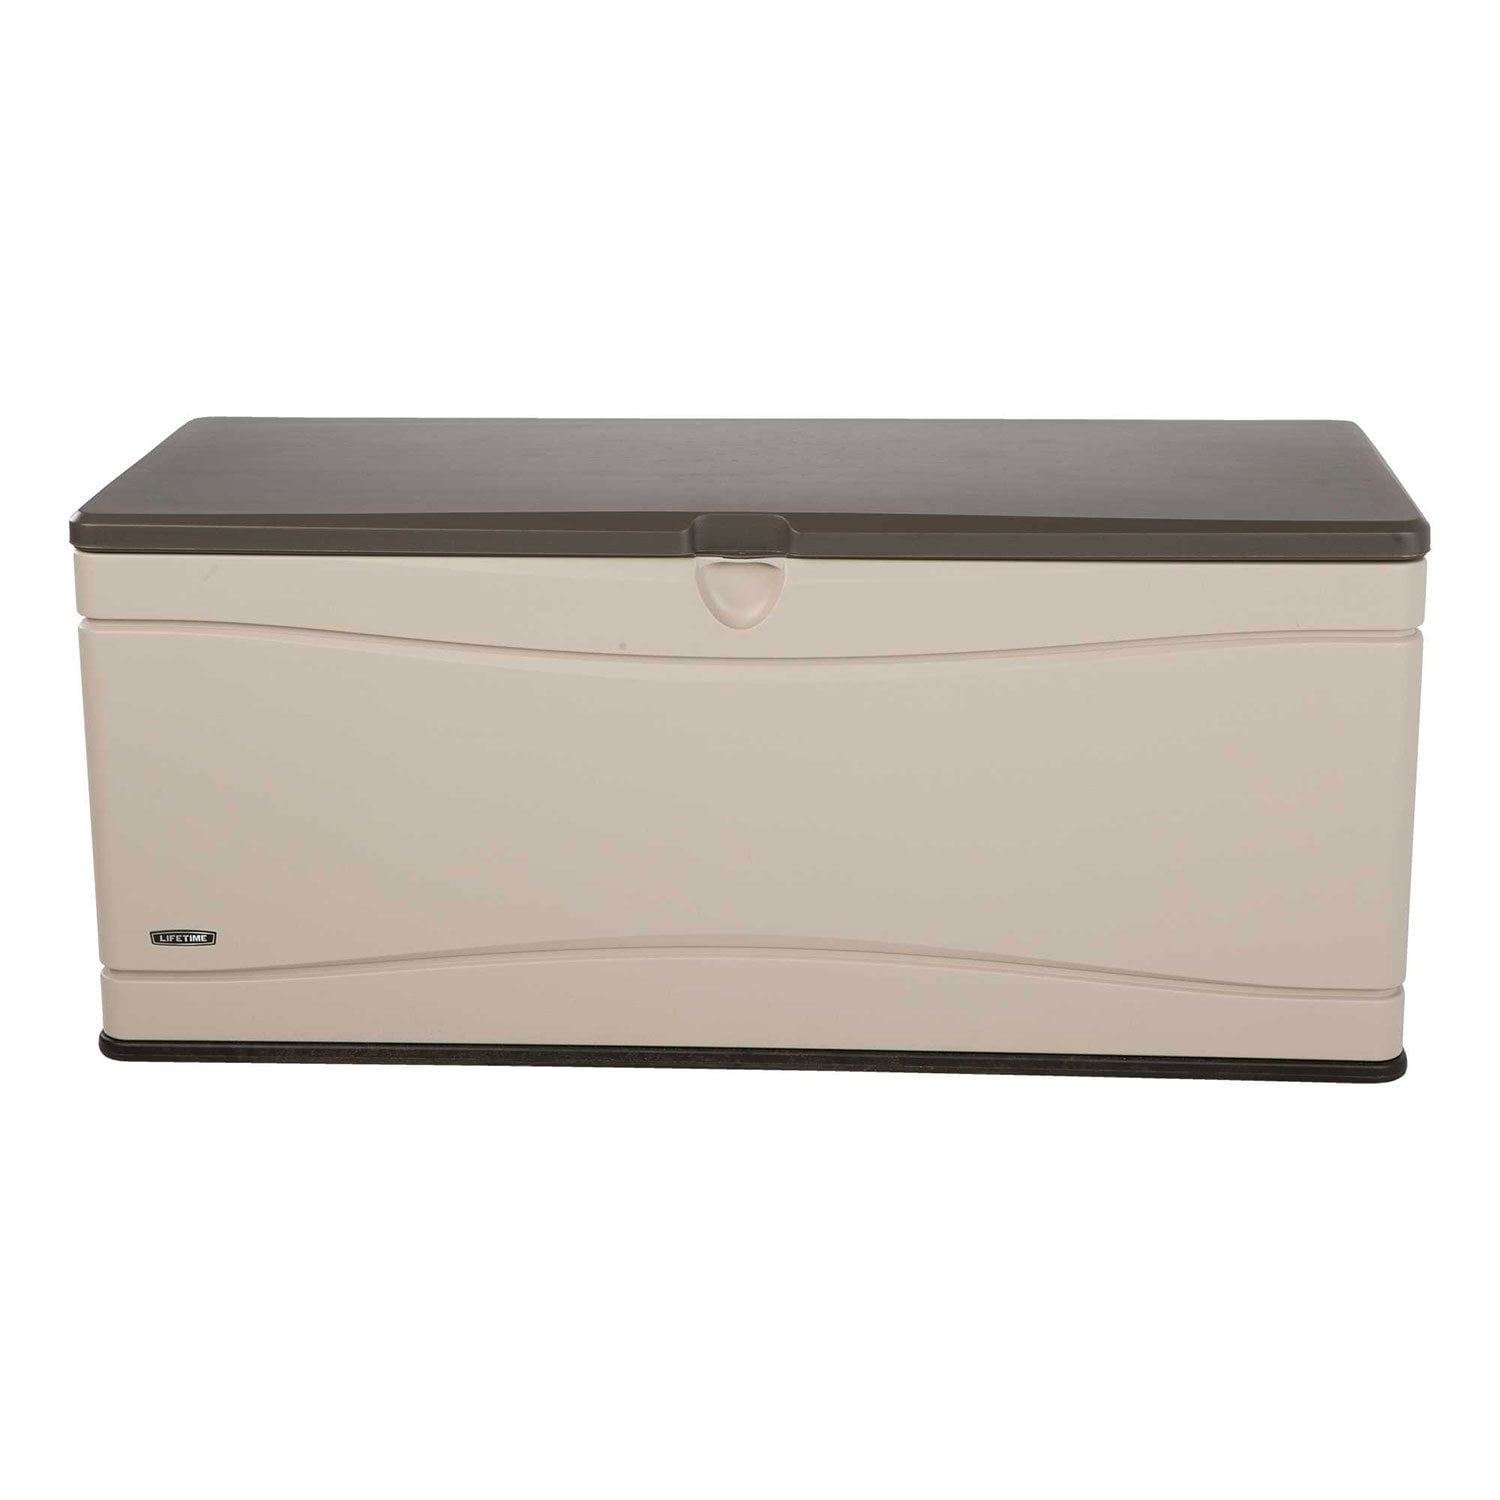
Lifetime 130 Gal. Outdoor Storage Deck Box
4.6 out of 5 stars
stars
1,284 ratings1,130 reviews
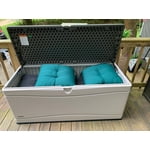
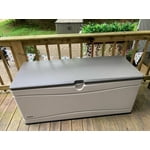
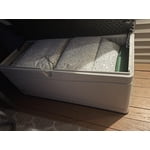
Member photos
- +2 images


Sort by |
Showing 711-720 of 1,130 reviews
Sep 30, 2014
theshut
5 out of 5 stars review
Verified Purchase
Hit the Bill
Review from Walmart.ca
Helpful?
Dec 13, 2021
Nancy
4 out of 5 stars review
Verified Purchase
Review from walmart.com
Helpful?
Sep 8, 2022
C Adams
5 out of 5 stars review
Verified Purchase
Great storage
Review from lifetime.com
Helpful?
Apr 22, 2024
Kimberly
5 out of 5 stars review
Verified Purchase
Outdoor Box
Review from walmart.com
Helpful?
Dec 5, 2020
katherin
5 out of 5 stars review
Verified Purchase
Review from walmart.com
Helpful?
Aug 26, 2019
Mark
5 out of 5 stars review
Verified Purchase
Went together nicely and heavy duty.
Helpful?
Aug 20, 2023
Scottiemom
5 out of 5 stars review
Verified Purchase
Good value
Helpful?
Jul 20, 2014
Notthrilled2
4 out of 5 stars review
Verified Purchase
Easy Assembly
Review from walmart.com
Helpful?
Jun 30, 2021
Adrian
5 out of 5 stars review
Verified Purchase
Review from walmart.com
Helpful?
Jun 28, 2017
Chopperpirates
5 out of 5 stars review
Verified Purchase
Strong
Review from lifetime.com
Helpful?