
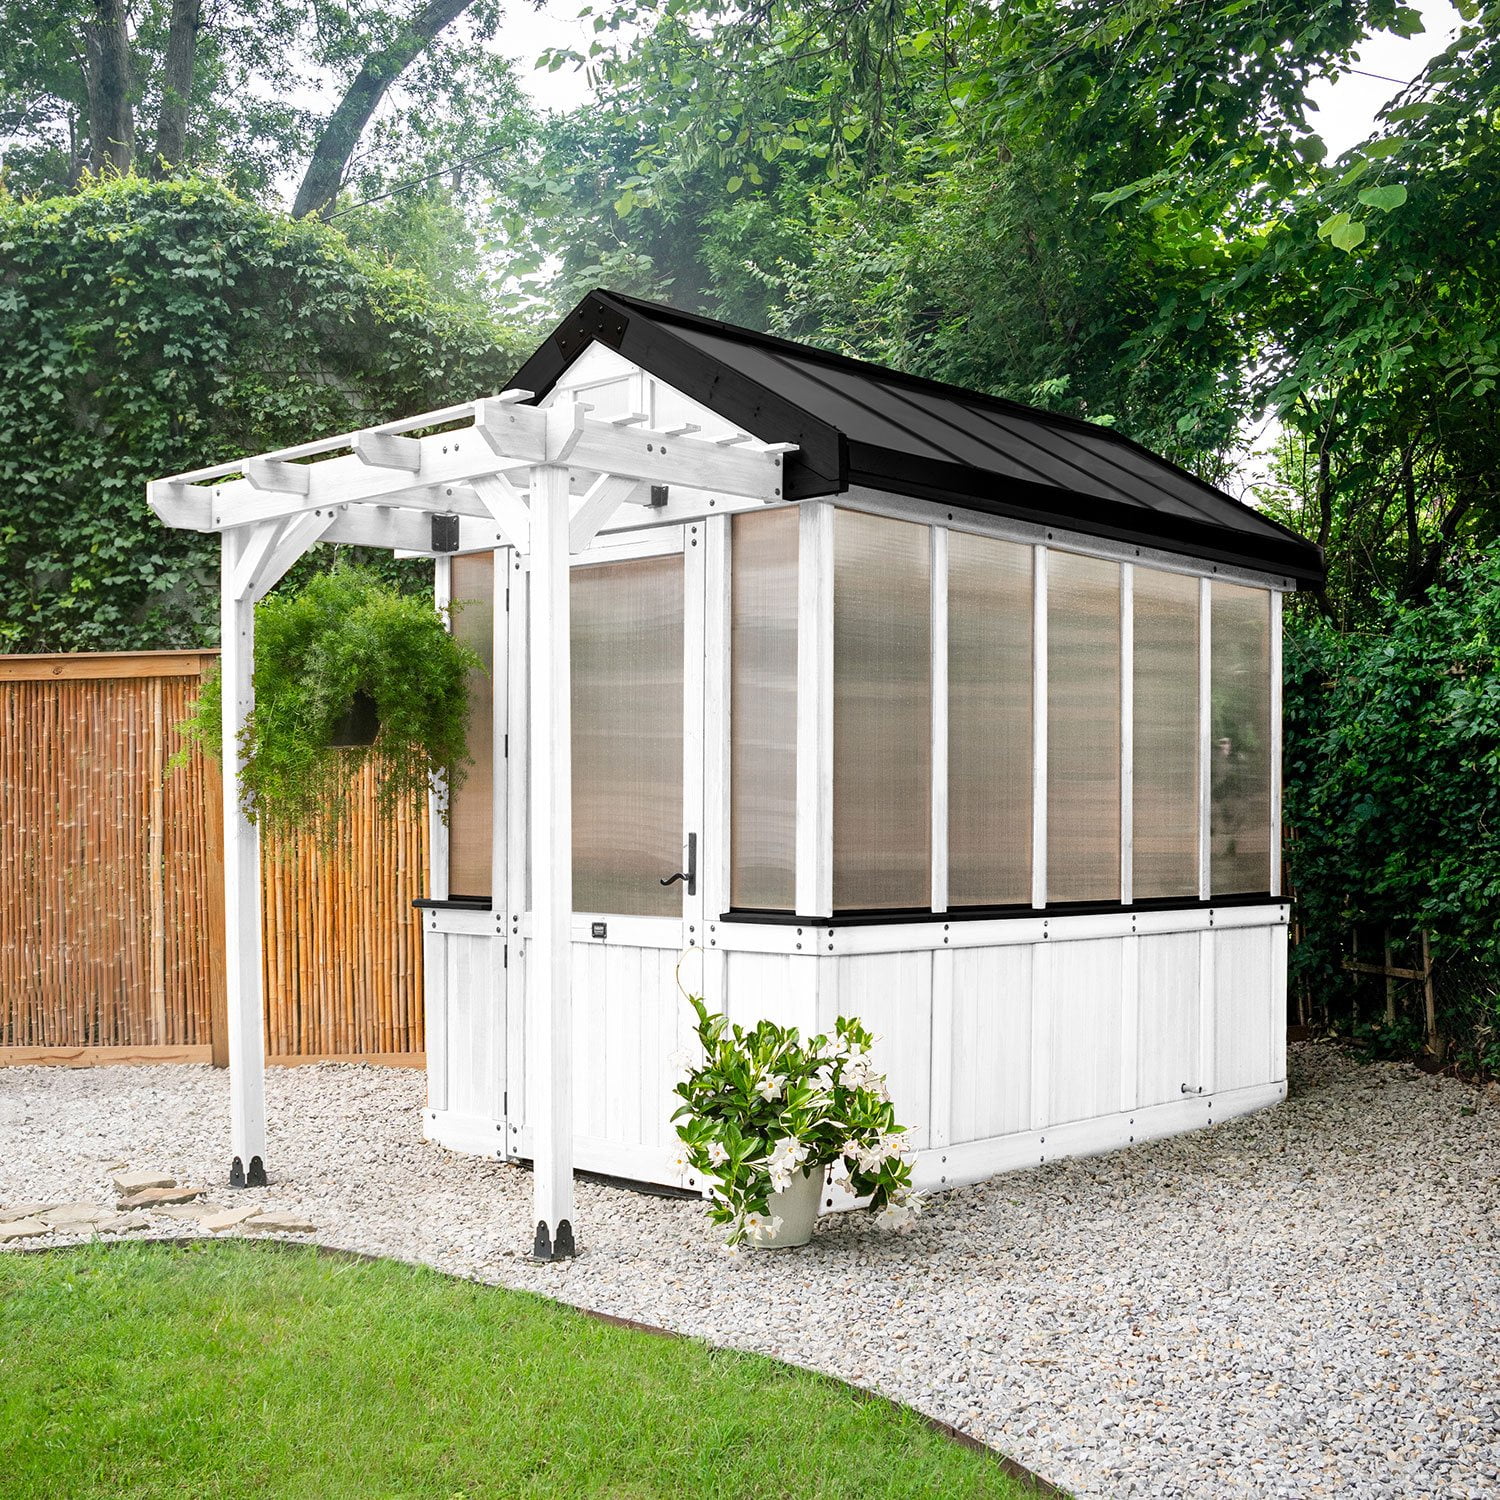
 Customer reviews for Backyard Discovery 9' x 6' Traditional Cedar Greenhouse in White - DIY for
Backyard Discovery 9' x 6' Traditional Cedar Greenhouse in White - DIY
5 out of 5 stars
stars
232 ratings232 reviews
Member photos
- +370 images

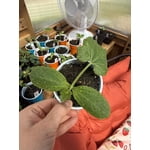
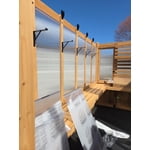
Sort by |
Showing 101-110 of 232 reviews
Apr 21, 2025
Reviewer name: gpatrick
5 out of 5 stars review
Beautiful appearance and functional design
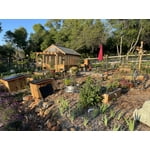
Review from backyarddiscovery.com
Helpful?
May 18, 2025
Reviewer name: Dan D
5 out of 5 stars review
Excellent product!

Review from backyarddiscovery.com
Helpful?
Jan 25, 2025
Reviewer name: Janoly
5 out of 5 stars review
Amazing Greenhouse 'Style' in a box!
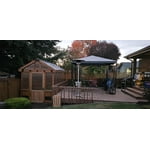

Review from backyarddiscovery.com
Helpful?
Sep 21, 2024
Reviewer name: Alys
5 out of 5 stars review
I love my greenhouse!
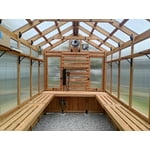

Review from backyarddiscovery.com
Helpful?
Jun 7, 2025
Reviewer name: greeenhousebuilder
4 out of 5 stars review
Pro Installer, Well Made But Assembly not for most

Review from backyarddiscovery.com
Helpful?
Sep 1, 2026
Reviewer name: Dawn of the burbs
5 out of 5 stars review
Solid and Cute!!
Review from backyarddiscovery.com
Helpful?
Aug 29, 2026
Reviewer name: Chuck
5 out of 5 stars review
Wonderful addition to our garden and property.
Review from backyarddiscovery.com
Helpful?
Aug 31, 2026
Reviewer name: valet
5 out of 5 stars review
So many features
Review from backyarddiscovery.com
Helpful?
Sep 3, 2026
Reviewer name: My Greenhouse
5 out of 5 stars review
Greenhouse Install
Review from backyarddiscovery.com
Helpful?
Sep 1, 2026
Reviewer name: Cox8331
5 out of 5 stars review
Great value
Review from backyarddiscovery.com
Helpful?