

Backyard Discovery Skyfort II Cedar Swing Set/PlaySet
Freight shipping

Highlights
- Raised clubhouse with wood roof, windows, covered entry way, and bay windows
- Front porch with sun balcony
- Crow's nest with telescope
- Lower deck with snack stand and picnic table
- Residential use only
This item ships with Curbside Delivery only. Delivery MUST be made between 8 a.m. and 5 p.m.
For additional information, please contact Leisure Time Products at 1.800.765.4138.
Disney Bath Squirter Bucket Set, 5 pc. $16.98
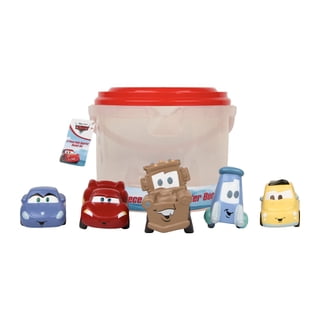
Disney Bath Squirter Bucket Set, 5 pc.
Members also considered
Backyard Discovery Skyfort II Cedar Swing Set/PlaySet $2,199.00
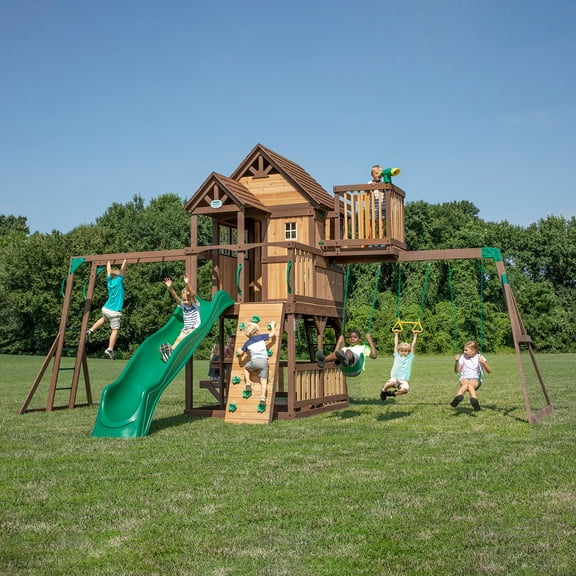 $2,19900current price $2,199.00Options from $2,199.00 – $3,199.00
Backyard Discovery Skyfort II Cedar Swing Set/PlaySet
20514.4281 out of 5 Stars. 2051 reviews4.4281 out of 5 starsAvailable for ShippingShippingBackyard Discovery Skyfort III Cedar Swing Set with Tube Slide $2,199.00
 $2,19900current price $2,199.00Options from $2,199.00 – $3,099.00
Backyard Discovery Skyfort III Cedar Swing Set with Tube Slide
4544.5771 out of 5 Stars. 454 reviews4.5771 out of 5 starsAvailable for ShippingShippingBackyard Discovery Bristol Point Cedar Swing Set/Playset $1,999.00
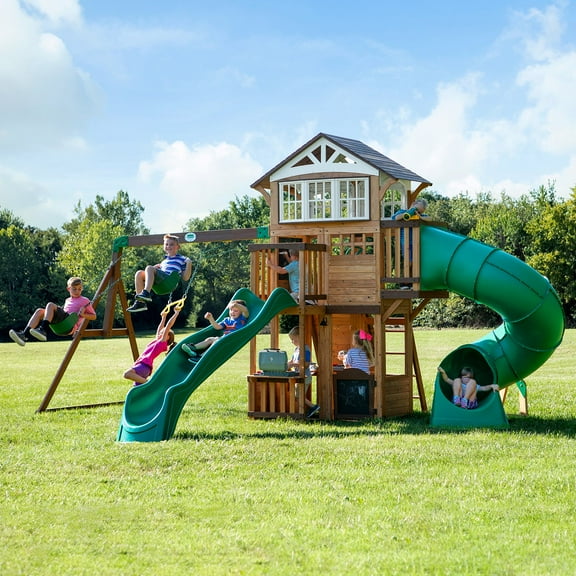 $1,99900current price $1,999.00Options from $1,999.00 – $2,899.00
Backyard Discovery Bristol Point Cedar Swing Set/Playset
14824.3489 out of 5 Stars. 1482 reviews4.3489 out of 5 starsAvailable for ShippingShippingKidKraft Adventure Bend Wooden Swing Set with Three Slides $2,399.00
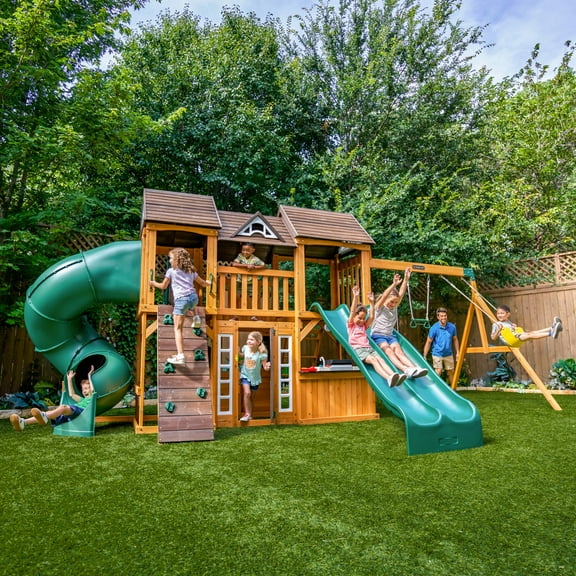 $2,39900current price $2,399.00
KidKraft Adventure Bend Wooden Swing Set with Three Slides
804.2125 out of 5 Stars. 80 reviews4.2125 out of 5 starsAvailable for ShippingShippingKidKraft Paramount Wooden Swing Set with Two Clubhouses $2,599.00
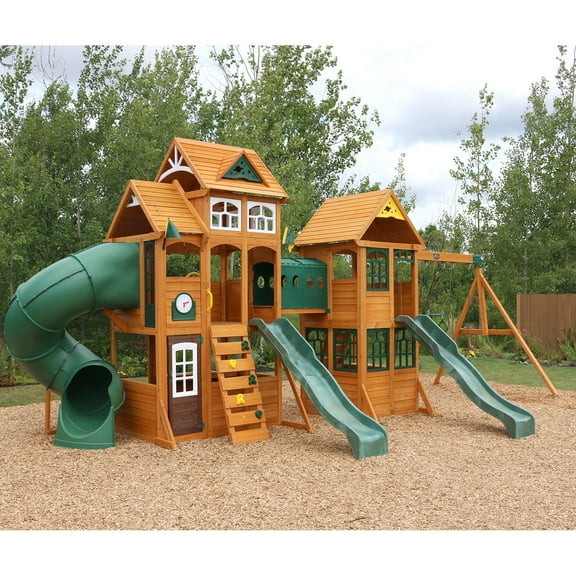 $2,59900current price $2,599.00
KidKraft Paramount Wooden Swing Set with Two Clubhouses
2093.7895 out of 5 Stars. 209 reviews3.7895 out of 5 starsAvailable for ShippingShippingBackyard Discovery Woodridge Elite Cedar Swing Set $2,499.00
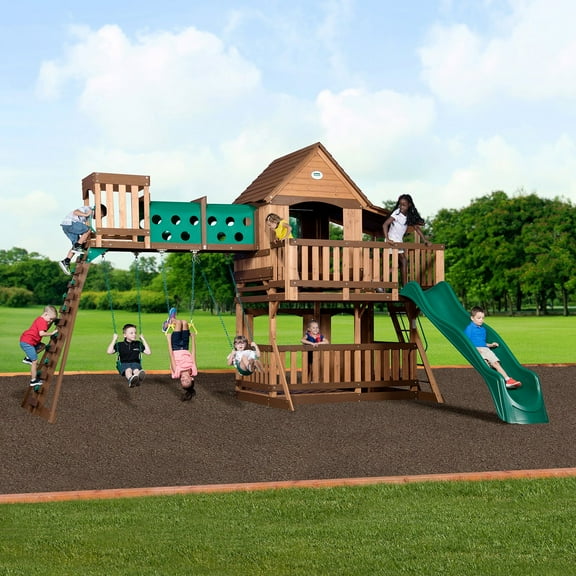 $2,49900current price $2,499.00Options from $2,499.00 – $3,499.00
Backyard Discovery Woodridge Elite Cedar Swing Set
2344.4103 out of 5 Stars. 234 reviews4.4103 out of 5 starsAvailable for ShippingShippingBackyard Discovery Malibu Cedar Swing Set $2,199.00
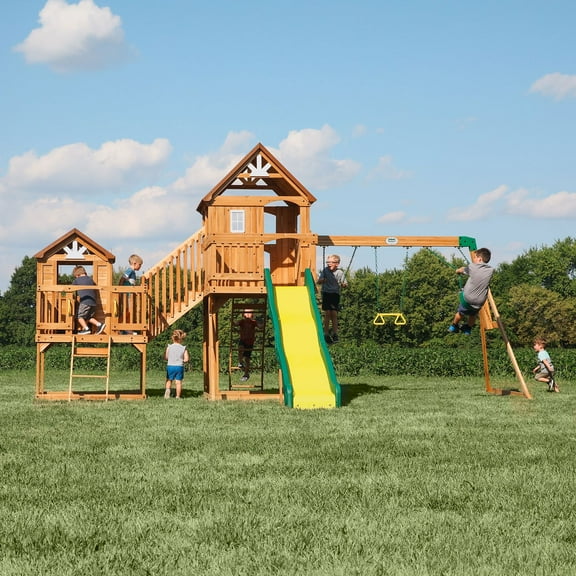 $2,19900current price $2,199.00Options from $2,199.00 – $3,199.00
Backyard Discovery Malibu Cedar Swing Set
2764.2536 out of 5 Stars. 276 reviews4.2536 out of 5 starsAvailable for ShippingShippingBackyard Discovery Grayson Peak Cedar Swing Set/Playset $1,099.00
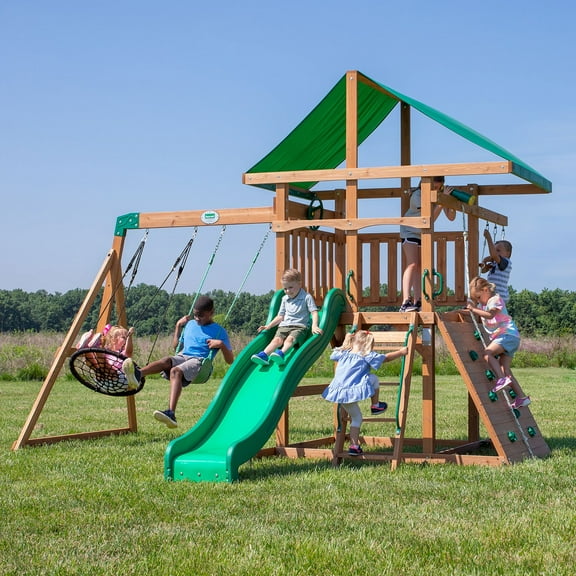 $1,09900current price $1,099.00Options from $1,099.00 – $1,799.00
Backyard Discovery Grayson Peak Cedar Swing Set/Playset
2074.6522 out of 5 Stars. 207 reviews4.6522 out of 5 starsAvailable for ShippingShippingKidKraft Charleston Lodge Wooden Outdoor Swing Set/Playset $1,599.00
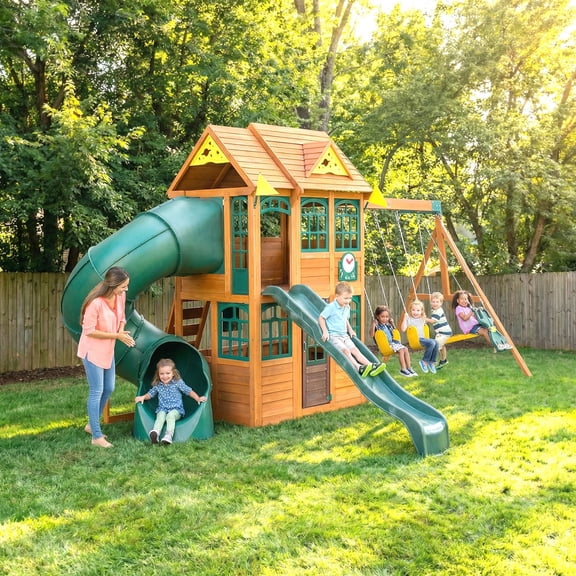 $1,59900current price $1,599.00
KidKraft Charleston Lodge Wooden Outdoor Swing Set/Playset
1223.877 out of 5 Stars. 122 reviews3.877 out of 5 starsAvailable for ShippingShippingGorilla Playsets Westbrook Cedar Swing Set $2,759.00
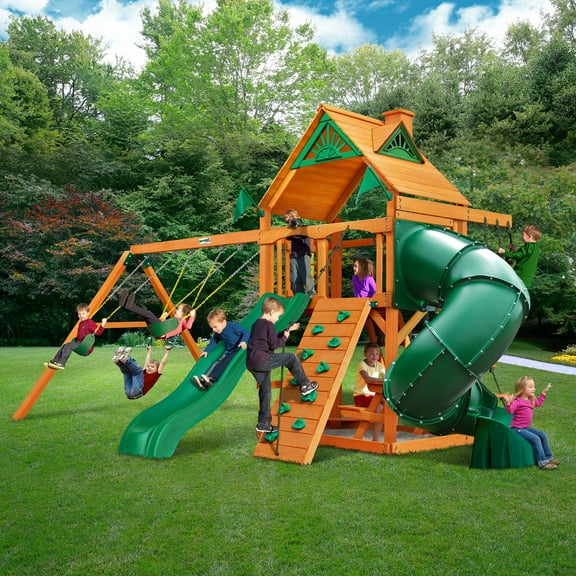 $2,75900current price $2,759.00
Gorilla Playsets Westbrook Cedar Swing Set
123.9167 out of 5 Stars. 12 reviews3.9167 out of 5 starsAvailable for ShippingShippingGorilla Playsets Avalon Wood Swing Set with Wood Roof and Twister Tube Slide $1,810.00
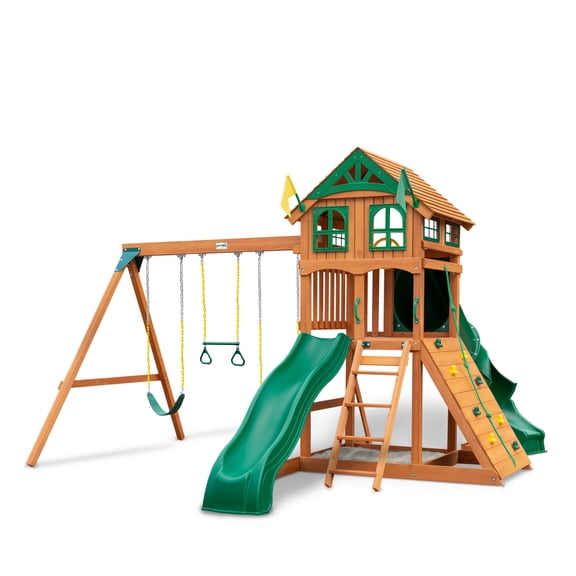 $1,81000current price $1,810.00
Gorilla Playsets Avalon Wood Swing Set with Wood Roof and Twister Tube Slide
134 out of 5 Stars. 13 reviews4 out of 5 starsAvailable for ShippingShippingGorilla Playsets Alpine Adventure Wooden Swing Set with Tube Slide $2,199.00
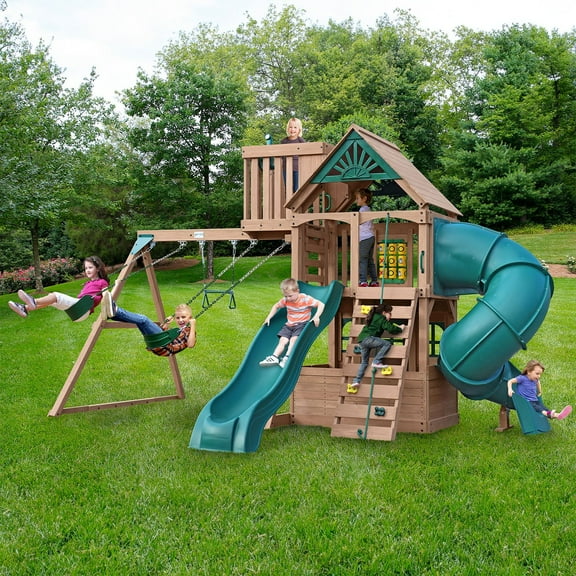 $2,19900current price $2,199.00
Gorilla Playsets Alpine Adventure Wooden Swing Set with Tube Slide
Available for ShippingShippingKidKraft Laurel Retreat Wooden Swing Set $1,349.00
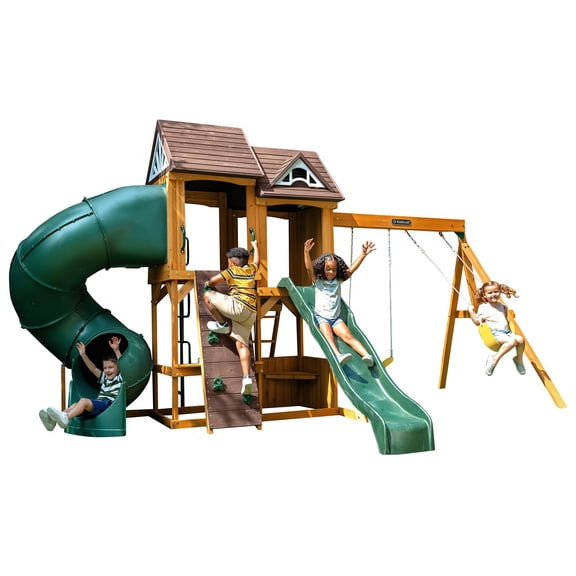 $1,34900current price $1,349.00
KidKraft Laurel Retreat Wooden Swing Set
604.6667 out of 5 Stars. 60 reviews4.6667 out of 5 starsAvailable for ShippingShipping
About this item
Product details
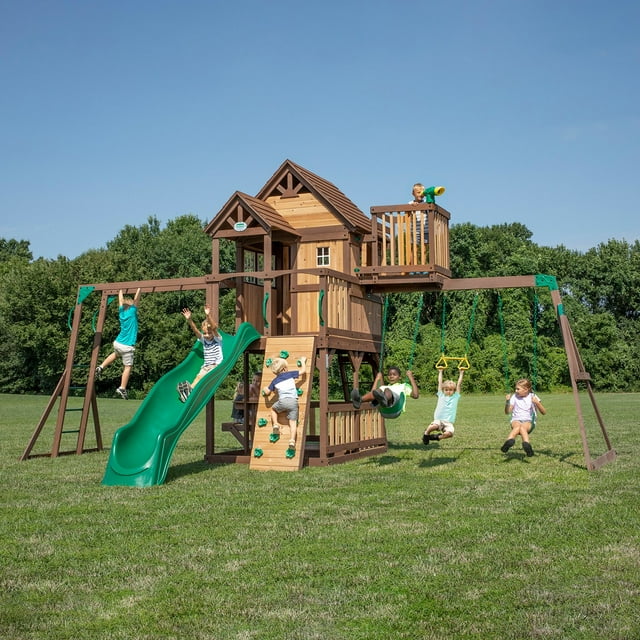
The Skyfort with Wave Slide will elevate your children’s imaginations — and your landscape. With raised clubhouse, roomy porch, and crow’s nest complete with its own telescope, this towering play and will feel like their own wooden castle. And there are plenty of fun, safe ways to move around this personal palace: full length of monkey bars swing them straight into the raised clubhouse, a challenging rock wall allows them to climb directly onto the porch, and a 10 foot wave slide slithers them right back down.
Adventures Galore
With a wood roof, covered entryway, a front porch, and bay windows, the Skyfort II offers a welcoming escape. The lower deck features a snack stand and picnic table for al fresco meals, and the front porch has a sun balcony for soaking up the rays. A full length of monkey bars swings them straight up into the raised clubhouse, while the challenging rock wall allows them to climb directly onto the porch. And this personal playground set features a 10-foot wave slide that brings them right back down to start all over again. Two belt swings and a trapeze bar adds to their outdoor activities. With easy assembly supported by an interactive app, this handsome playset makes spending time outdoors active, engaging and fun.
Specifications
- Raised clubhouse with wood roof, windows, covered entry way, and bay windows
- Front porch with sun balcony
- Crow's nest with telescope
- Lower deck with snack stand and picnic table
- Two belt swings and one trapeze bar
- Rock climbing wall and flat step entry ladder
- 10ft. Wave slide and Monkey Bars
- Stain Color: Light Brown/Dark Brown. Stain color may vary
- Easy Assembly – Supported by the step-by-step interactive BILT® app
- 5- year limited warranty
This item ships with Curbside Delivery only.
Delivery MUST be made between 8 a.m. and 5 p.m.
For additional information, please contact Leisure Time Products at 1.800.765.4138.
Member ratings & reviews
Filtered and sorted results would be available on the new 'Customer ratings & reviews' page.
Showing 1-3 of 1,734 reviews
My 3 Sons love the Skyfort II!!!!
Overall, I wish I could give a 6 stars. The quality is awesome! Super strong design and well balanced! Highly recommended. This is a video tour of the process that took over a week to complete from clearing the trees, removing tree stumps, leveling the land, and mapping out the area. We had to hired two handy-men to assemble the skyfort II and they did a marvelous job. See the video for details.
Verified Purchase
Save money. Assemble yourself.
I echo what others have said: Parts inventory is a must. Stay organized. Have patience. Review all hole locations prior to tightening bolts. Have patience. Stay organized. Have patience. Kids love it. I assembled the entire set alone so it can be done alone, however, i read someones preferred method was a 2 person organize and builder approach. I think that is the ideal assembly team. Have patience. Kids love it!
Thank you for your wonderful review and insight! Your own personal tips are wonderful in helping other customers. We know that your kids will love their Skyfort II Swing Set for many years to come!
Verified Purchase
Fantastic Set! Great value at a great price!
I searched and searched and searched for the perfect play set for our 2-year-old daughters birthday. I looked at a wide variety of brands, and styles. After comparing the features of the Skyfort II to the features of various other brands at the same price level, it was clear this set gave us the biggest bang for our buck! The set took about 26 hours of my time, and about 18 hours of my dad's. We mostly worked on it after we both got home from work during the week. We did spend about 8 hours on Sunday together working on it. The set is solid, shipping is quick, and assembly is... well assembly is not as easy as opening a banana. It takes time, it takes patience, and it takes a keen set of skills to ensure you have everything in its place. Here are my tips: 1.) Open each box separately. Inventory each piece as you take it out of the box against the packing list in each box. Be advised that the packing list in the most updated piece of information, versus the online manual or manual that comes with it. 2.) LABEL EACH BOARD WITH MASKING TAPE AND WRITE THE LETTER/# ON THE MASKING TAPE!! Yes, the wood is labeled. Is it super tiny and sometimes difficult to read, yes! By putting masking tape on the wood with larger letters/numbers, you will be able to see the boards easier when assembling. Furthermore, I suggest taping together like boards, i.e. M25 may have two boards, so tape them together. Put all the boards in alpha/numeric order. 3.) Go through the book, and group all the hardware (nuts, bolts, screws, lug screws, washers, "L" brackets, etc) together per each step. I suggest either putting them in ziplock baggies, or Tupperware. Just be sure to label each bag/container with what step is in that container. I promise you, it will take you a long while to do the above step and this one, but can assure you that in the long run, you will save massive amounts of time and stress! 4.) PAY VERY VERY VERY VERY CLOSE ATTENTION TO WHICH WAY A BOARD IS TO BE LAID OUT! There are a ton of pilot holes, and it is crucial to the structural integrity and ease of putting the set together. I strongly encourage that you always look a step or two ahead to ensure you have put a board in the correct position. Always assume that certain holes, go a certain way. 5.) Have at least two batteries if you are using a 12v cordless drill. Having two drills can be beneficial as well. 6.) It seems weird building all the attachments at the start. Trust me, it is so nice once you have the fort together to just be able to attach the slide, ladder, rock wall, etc. 7.) When using T-Nut "BG", always hand start the bolt into the T-Nut. This will help in not having you push the T-Nut all the way through and ruin the T-Nut. Just get the bold started into the T-Nut and then use your power drill, being sure to go slowly. 8.) We built the entire crow's nest, and then attached it. Was it heavier to lift? You bet, but a lot easier and safer than trying to attach pieces to the crows nest 9 foot off the ground! 9.) I leveled the ground that the fort was to be placed on, and put 7 19"x19" pavers perfectly level on the ground. I had the pavers so it created a "U" with the open part facing the front. The dimensions were 61" wide, by 81" deep. It ensures you have a level surface to build the fort and be able to square everything off of your main fort. 10.) Speaking of squaring, SQUARE AND LEVEL EACH AND EVERY PIECE YOU ATTACH. It is very frustrating if you just guess on some pieces, and then end up having to loosen them to square it up each time. 11.) Have some short 1x4 pieces handy. Then read the manual and find out what gap distances you will need. Create gap measure pieces out of a random 1x4, 2x4, etc. It is much easier than trying to use a tape measure or something else. The amounts are random (2 - 11/16" for example). 12.) When putting the screws into the slide all along the side, be sure to go exactly straight so you don't have a rogue screw go through the slide. 13.) I had my dad help me for about 80% of the project. There were two nights he did not help. While I assume one person could get the entire set done, it is SO MUCH EASIER when you have two people. 14.) Don't throw out the French and Spanish versions of the manuals. You can use them to help you look a step or two ahead for pictures. 15.) Ignore that a PFH 2" screw is labeled as a "CK" for example. Just worry about the style and sizes. Don't waste your time labeling the hardware like you did the wood. I seriously recommend doing each step into one bag, etc. 16.) Have fun putting it together. It is a great time to bond with whomever you are building it with! Once it is completed, you will love it, and your child(ren) will too!
Popular products in this category
Disney Bath Squirter Bucket Set, 5 pc. $16.98
 Sponsored$1698current price $16.98
Disney Bath Squirter Bucket Set, 5 pc.
214.7143 out of 5 Stars. 21 reviews4.7143 out of 5 starsAvailable for Pickup, Delivery or ShippingPickupDeliveryShippingMorton Pure and Natural Water Softener Crystals 40 lbs $7.48
 $748current price $7.48
Morton Pure and Natural Water Softener Crystals 40 lbs
24854.7441 out of 5 Stars. 2485 reviews4.7441 out of 5 starsAvailable for Pickup or DeliveryPickupDeliverySportspower Bounce Pro 14' Trampoline with Heavy Duty Basketball System $249.98
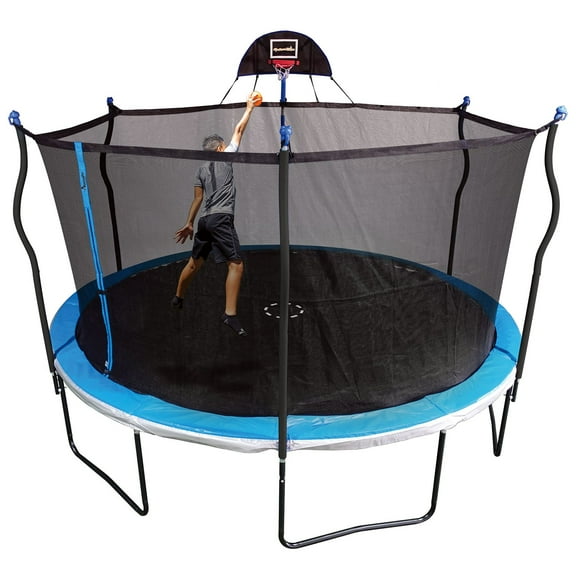 $24998current price $249.98
Sportspower Bounce Pro 14' Trampoline with Heavy Duty Basketball System
19654.2906 out of 5 Stars. 1965 reviews4.2906 out of 5 starsAvailable for Pickup or ShippingPickupShippingUpper Bounce 15' Trampoline & Enclosure Set $399.00
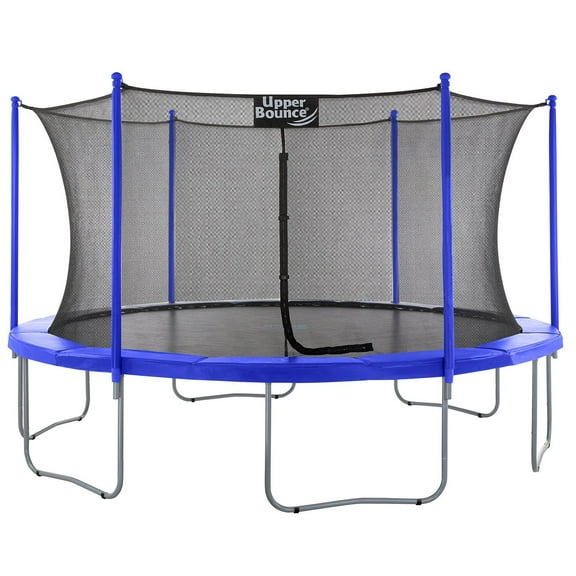 Sponsored$39900current price $399.00
Upper Bounce 15' Trampoline & Enclosure Set
2334.2532 out of 5 Stars. 233 reviews4.2532 out of 5 starsAvailable for ShippingShippingIntex Ultra XTR Rectangular Pool Set, L 32' x W 16' x H 52" $1,299.00 Was $1,599.00
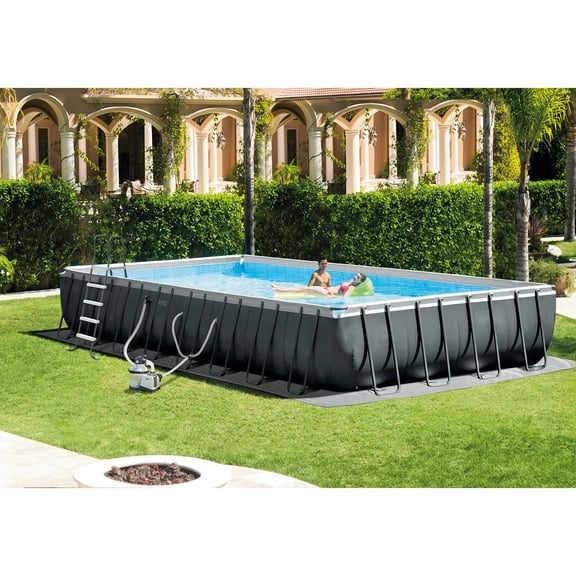 Now$1,29900current price Now $1,299.00, Was $1,599.00$1,599.00$300 off
Intex Ultra XTR Rectangular Pool Set, L 32' x W 16' x H 52"
1174.1624 out of 5 Stars. 117 reviews4.1624 out of 5 starsAvailable for ShippingShippingSimpli-Magic Cleaning Kit with Extension Pole (5–12 ft) Duster, Cobweb Remover & Squeegee, 20 ft Max Reach for Household, RV & Car Use $59.99
 $5999current price $59.99
Simpli-Magic Cleaning Kit with Extension Pole (5–12 ft) Duster, Cobweb Remover & Squeegee, 20 ft Max Reach for Household, RV & Car Use
125 out of 5 Stars. 12 reviews5 out of 5 starsAvailable for ShippingShippingLicensed Squirters Bath Bucket Set, 5 pc. $13.91 Was $16.98
 Now$1391current price Now $13.91, Was $16.98$16.98$3.07 off
Licensed Squirters Bath Bucket Set, 5 pc.
914.8571 out of 5 Stars. 91 reviews4.8571 out of 5 starsAvailable for ShippingShippingBestway 14' Xtreme Air Texas Theme Round Trampoline $219.00
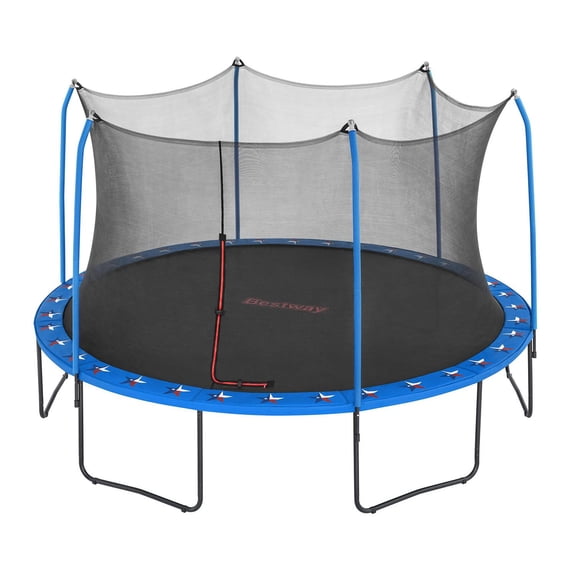 $21900current price $219.00
Bestway 14' Xtreme Air Texas Theme Round Trampoline
434.8605 out of 5 Stars. 43 reviews4.8605 out of 5 starsAvailable for ShippingShippingZuru X-Shot Insanity Motorized Rage Fire Blaster $54.98
 $5498current price $54.98
Zuru X-Shot Insanity Motorized Rage Fire Blaster
914.3956 out of 5 Stars. 91 reviews4.3956 out of 5 starsAvailable for Pickup or DeliveryPickupDeliveryBestway 14' Xtreme Air Round Trampoline $219.00
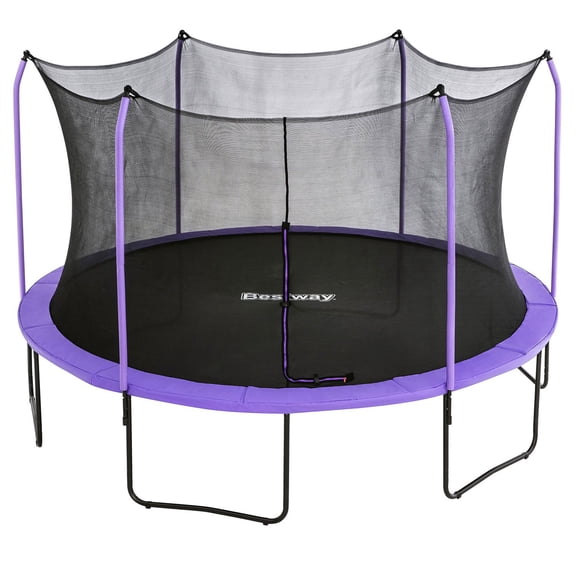 $21900current price $219.00
Bestway 14' Xtreme Air Round Trampoline
574.6316 out of 5 Stars. 57 reviews4.6316 out of 5 starsAvailable for ShippingShippingLittle Tikes Dirt Digger Sandbox $54.94
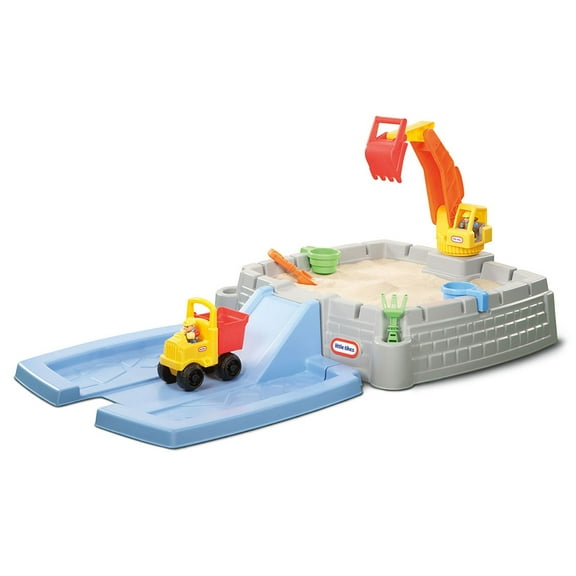 $5494current price $54.94
Little Tikes Dirt Digger Sandbox
5994.5426 out of 5 Stars. 599 reviews4.5426 out of 5 starsAvailable for ShippingShippingLifetime Adventure Castle Playset with Monkey Bars $2,559.00
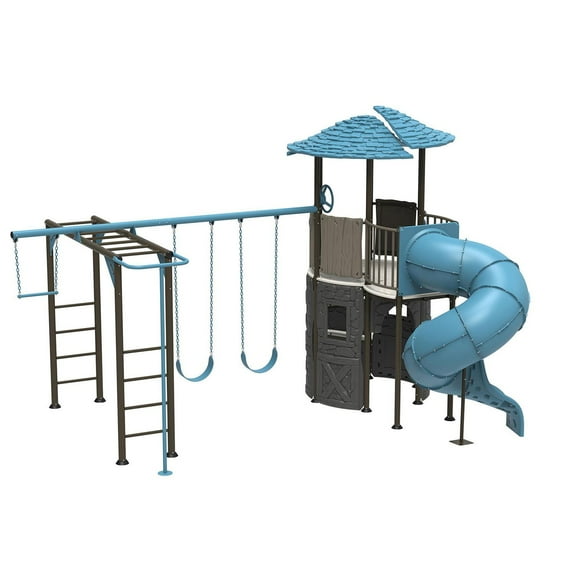 $2,55900current price $2,559.00
Lifetime Adventure Castle Playset with Monkey Bars
134.7692 out of 5 Stars. 13 reviews4.7692 out of 5 starsAvailable for ShippingShipping3-in-1 Floating Game Mat: Mahjong, Rummi Cube, and Waterproof Cards $149.00
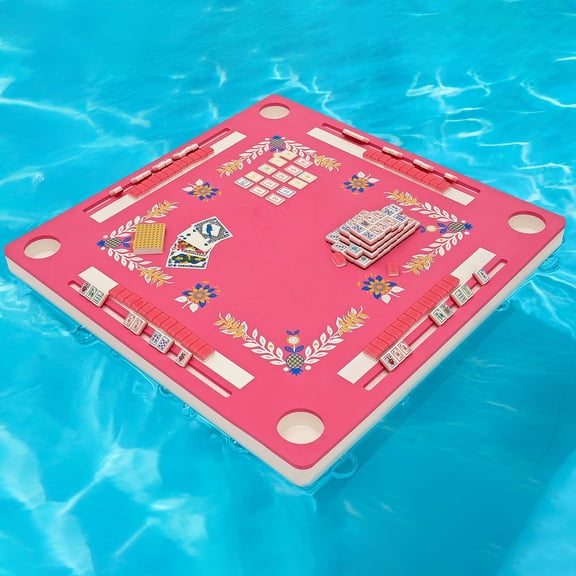 $14900current price $149.00
3-in-1 Floating Game Mat: Mahjong, Rummi Cube, and Waterproof Cards
974.4536 out of 5 Stars. 97 reviews4.4536 out of 5 starsAvailable for ShippingShippingLifetime 10' Tamarack Angler Kayak with Paddles, 2 pk. $799.00
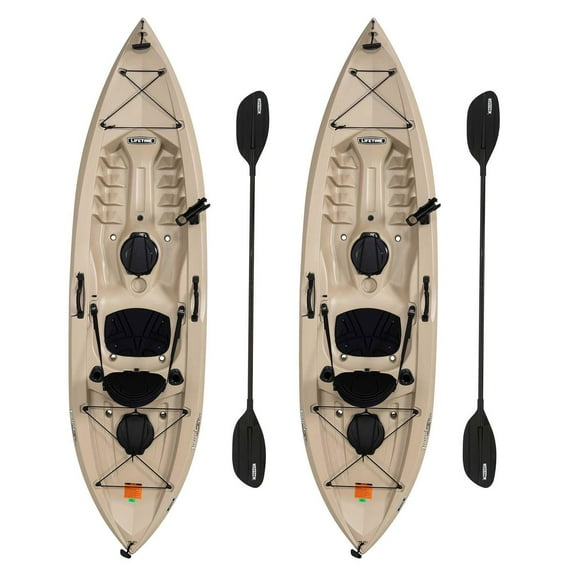 $79900current price $799.00
Lifetime 10' Tamarack Angler Kayak with Paddles, 2 pk.
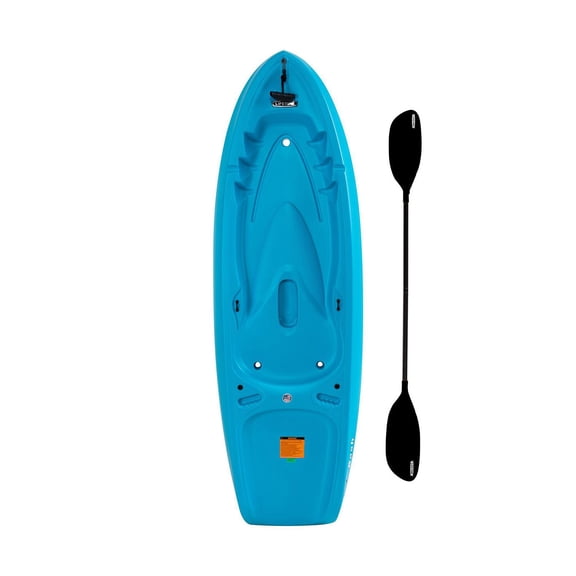
3104.571 out of 5 Stars. 310 reviews4.571 out of 5 starsAvailable for ShippingShippingLifetime Dash 6'6" Youth Sit-On-Top Kayak, Paddle Included $79.98 Was $109.98
 Now$7998current price Now $79.98, Was $109.98$109.98$30 off
Lifetime Dash 6'6" Youth Sit-On-Top Kayak, Paddle Included
804.25 out of 5 Stars. 80 reviews4.25 out of 5 starsAvailable for ShippingShipping